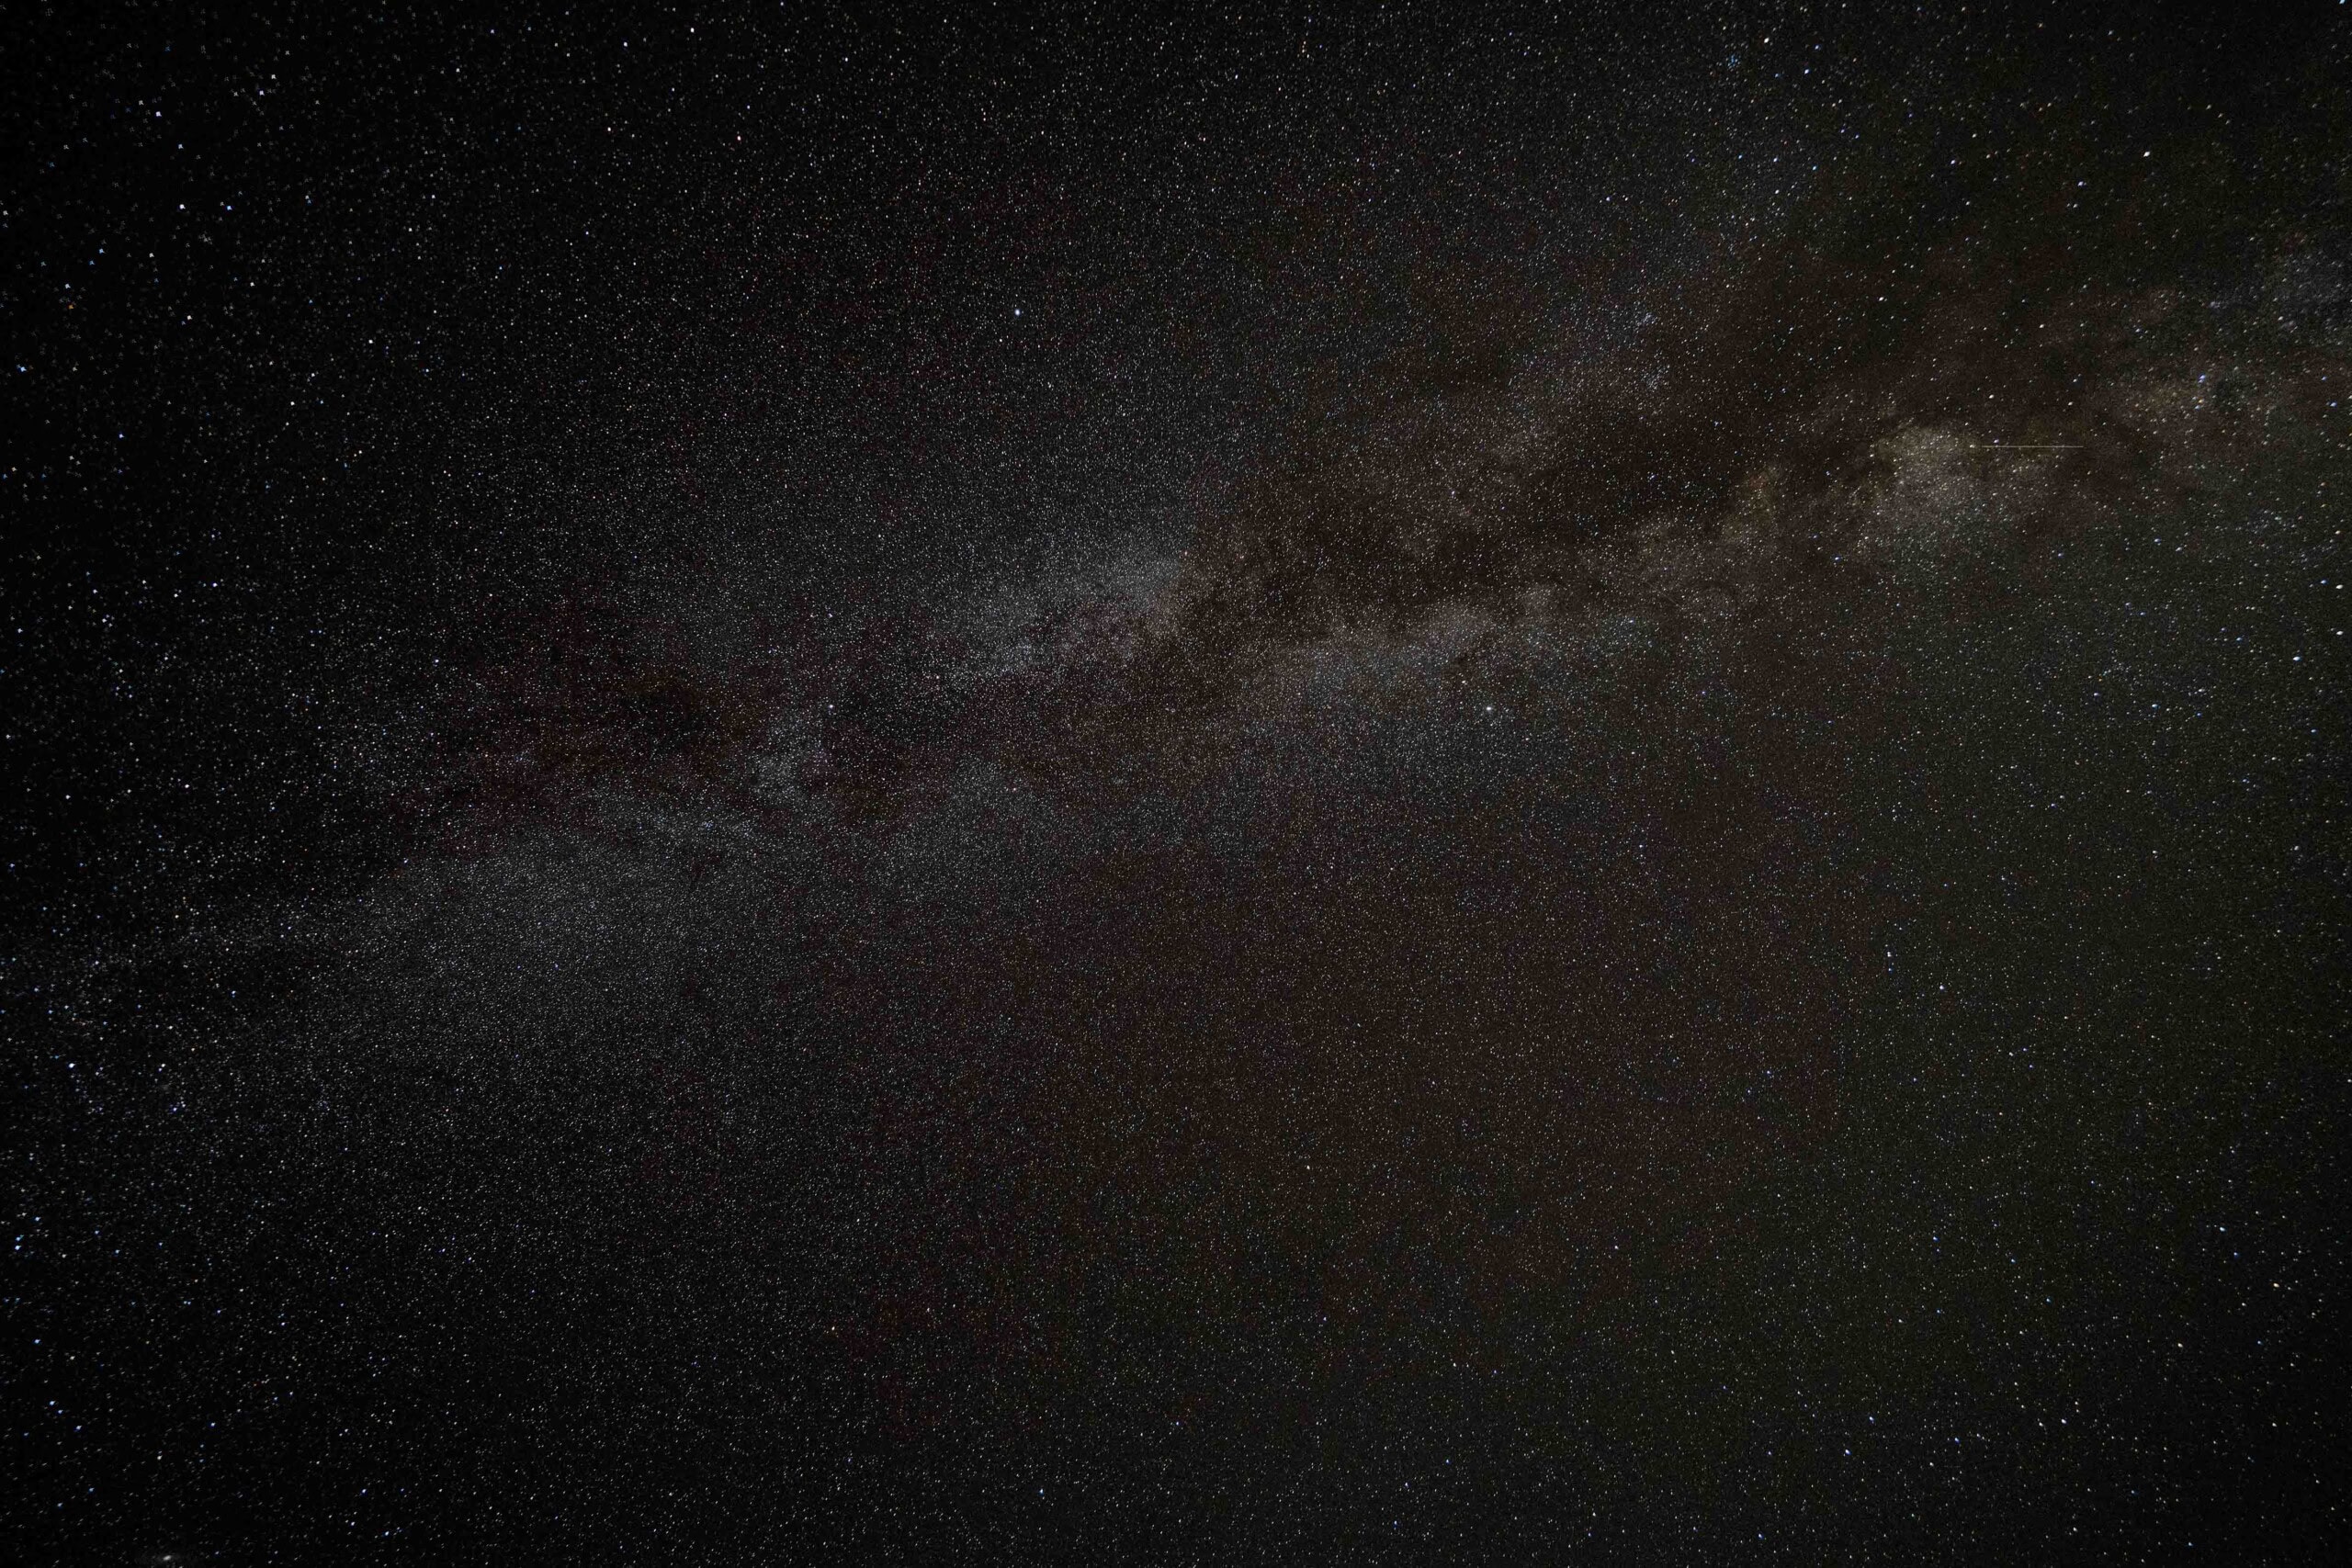
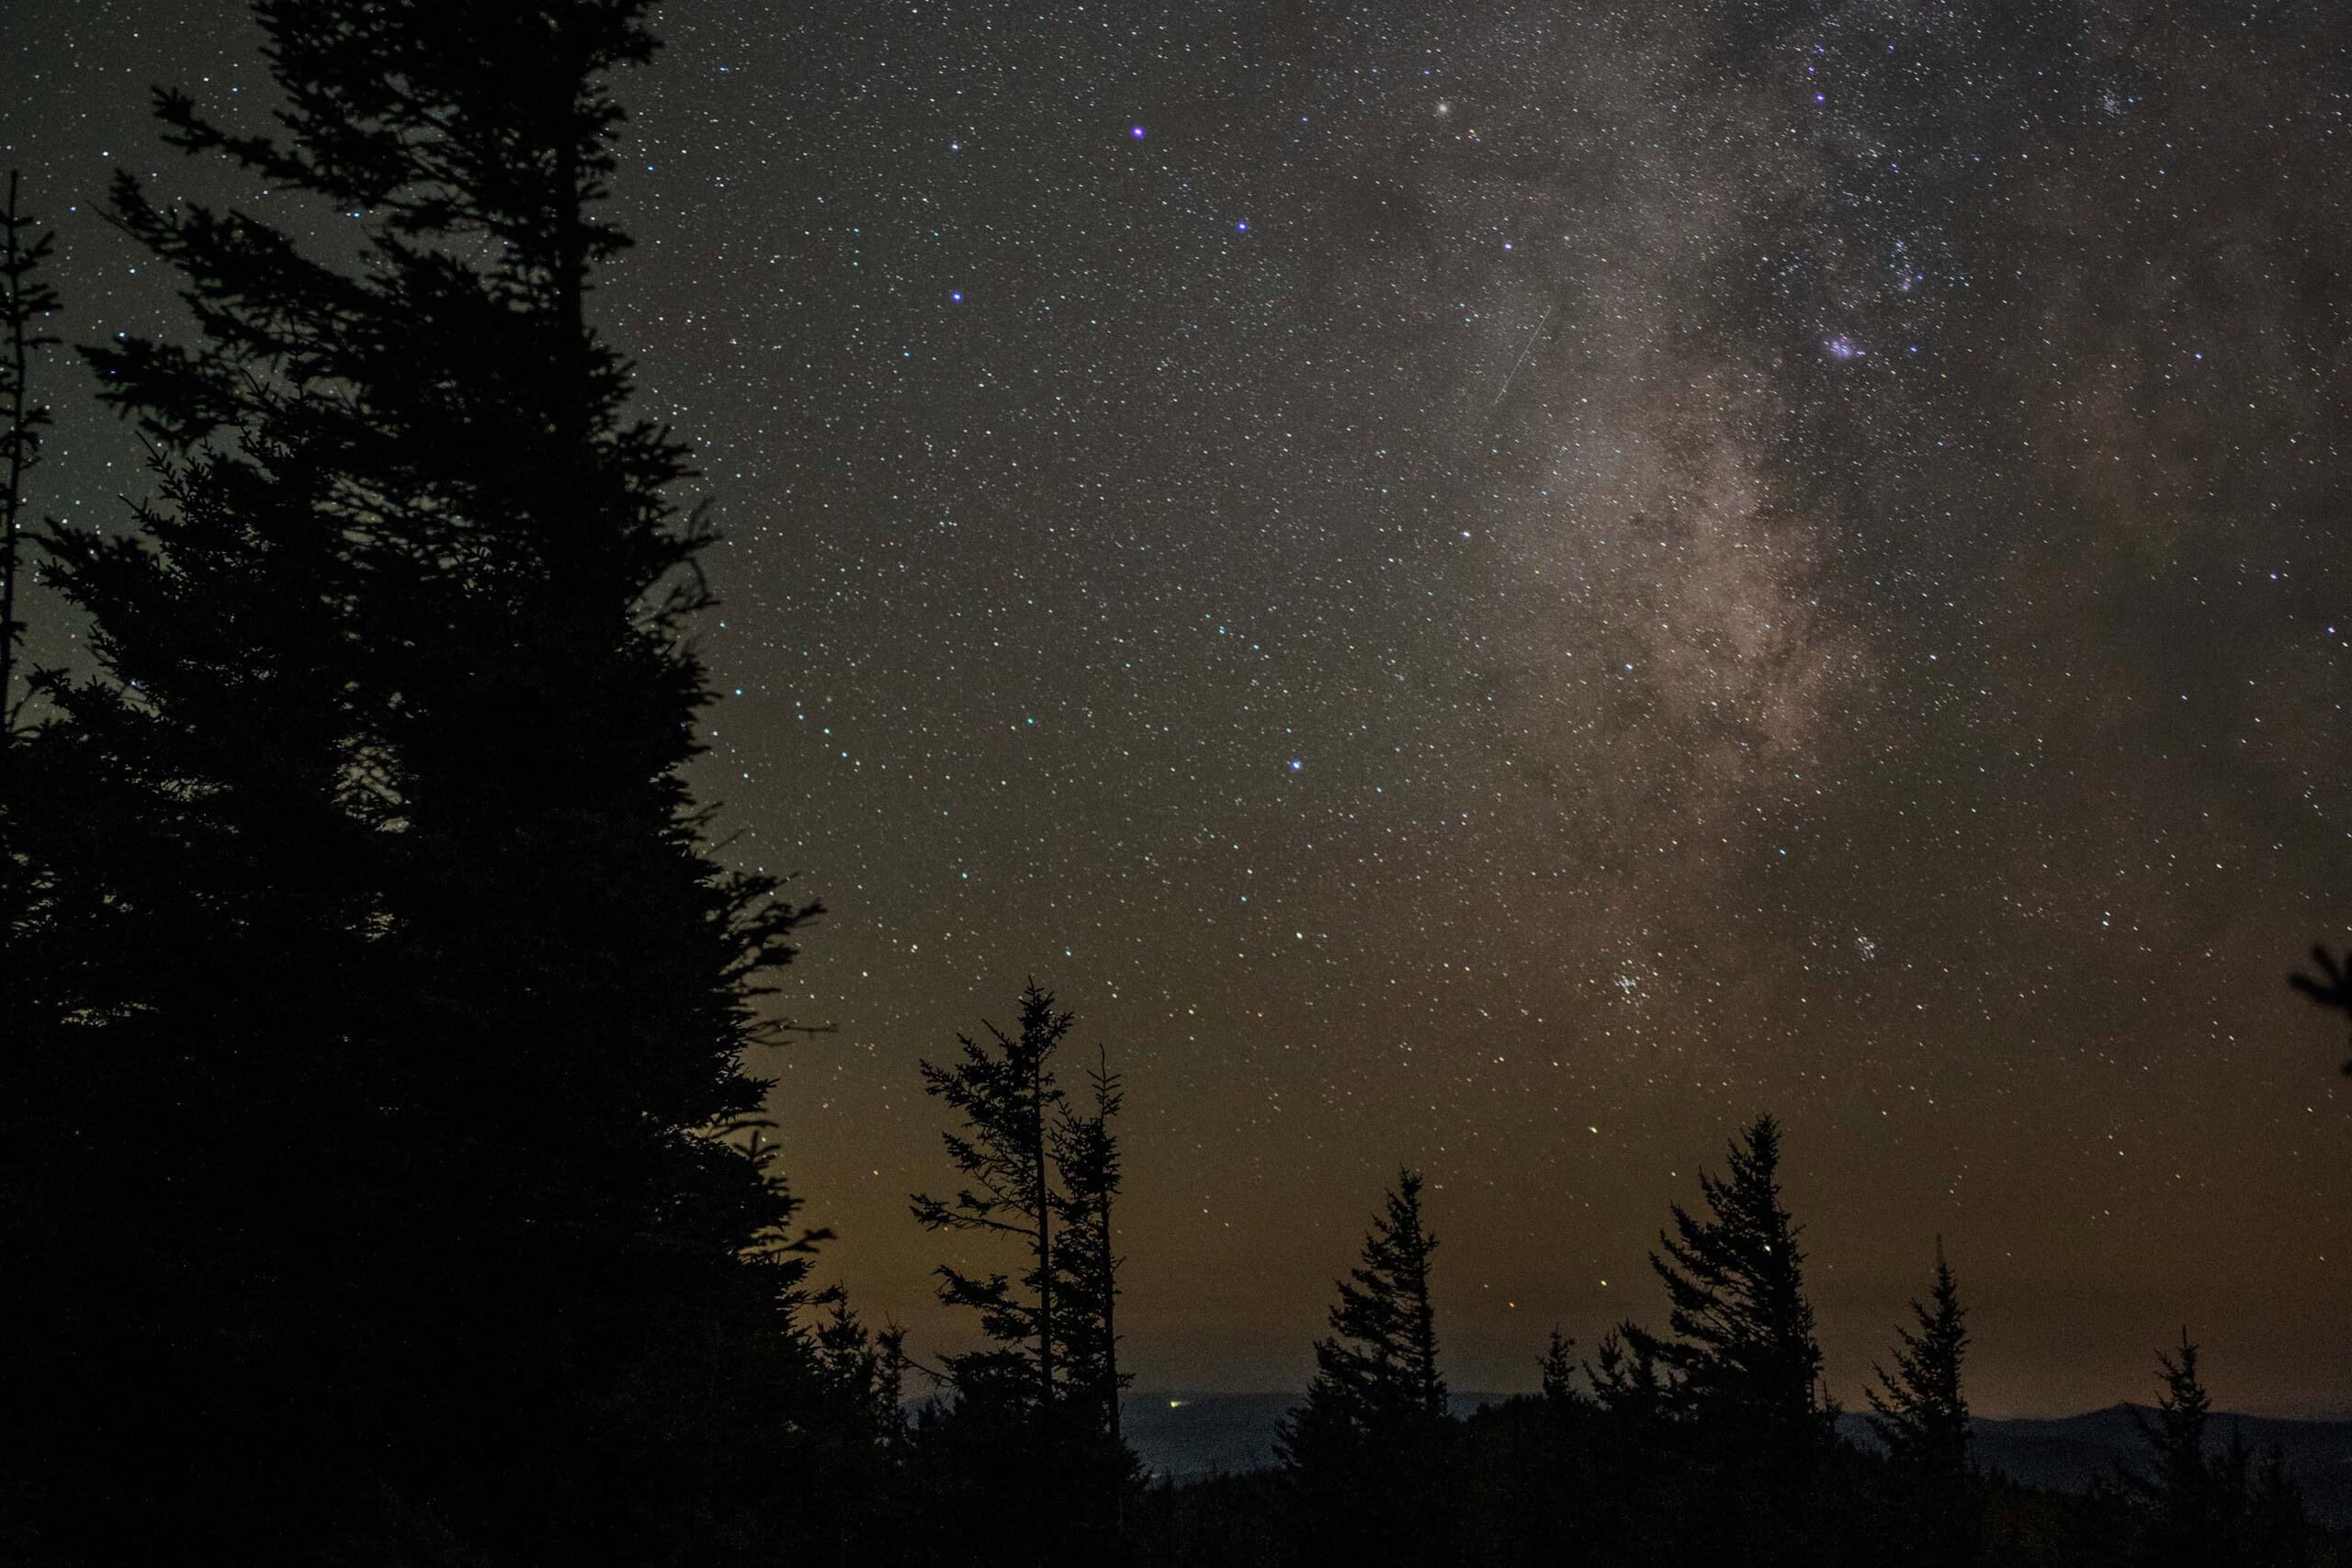
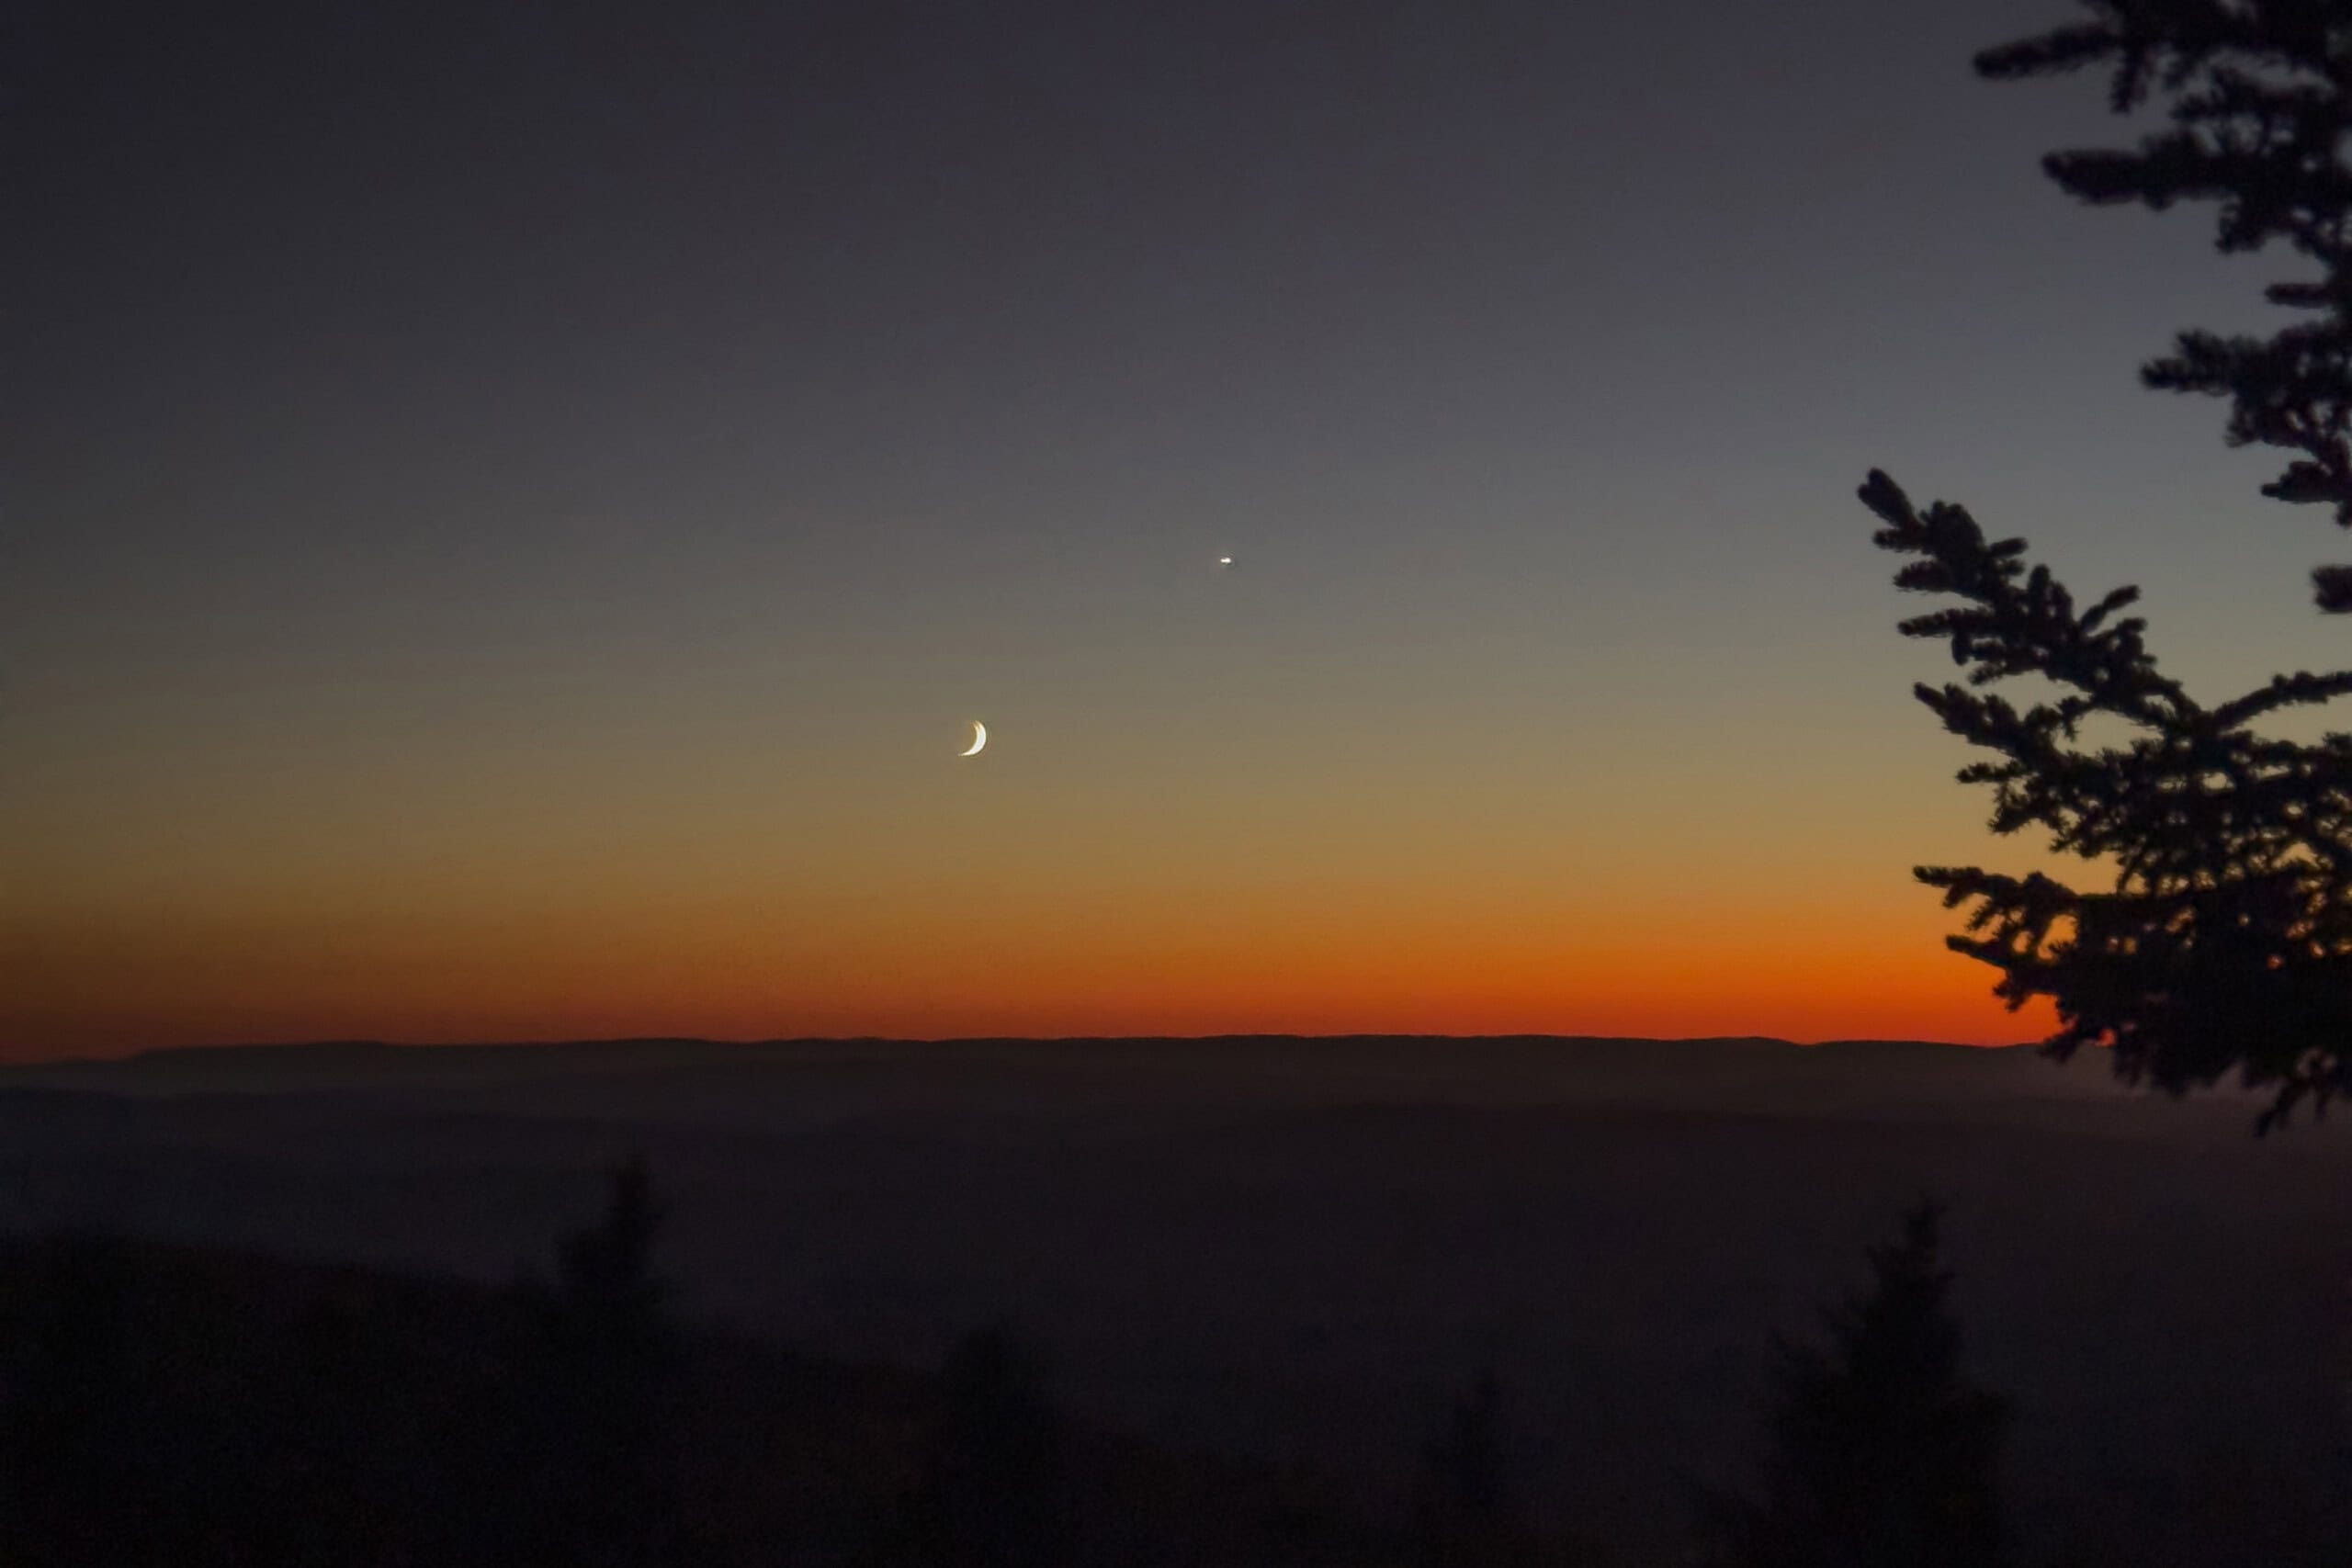
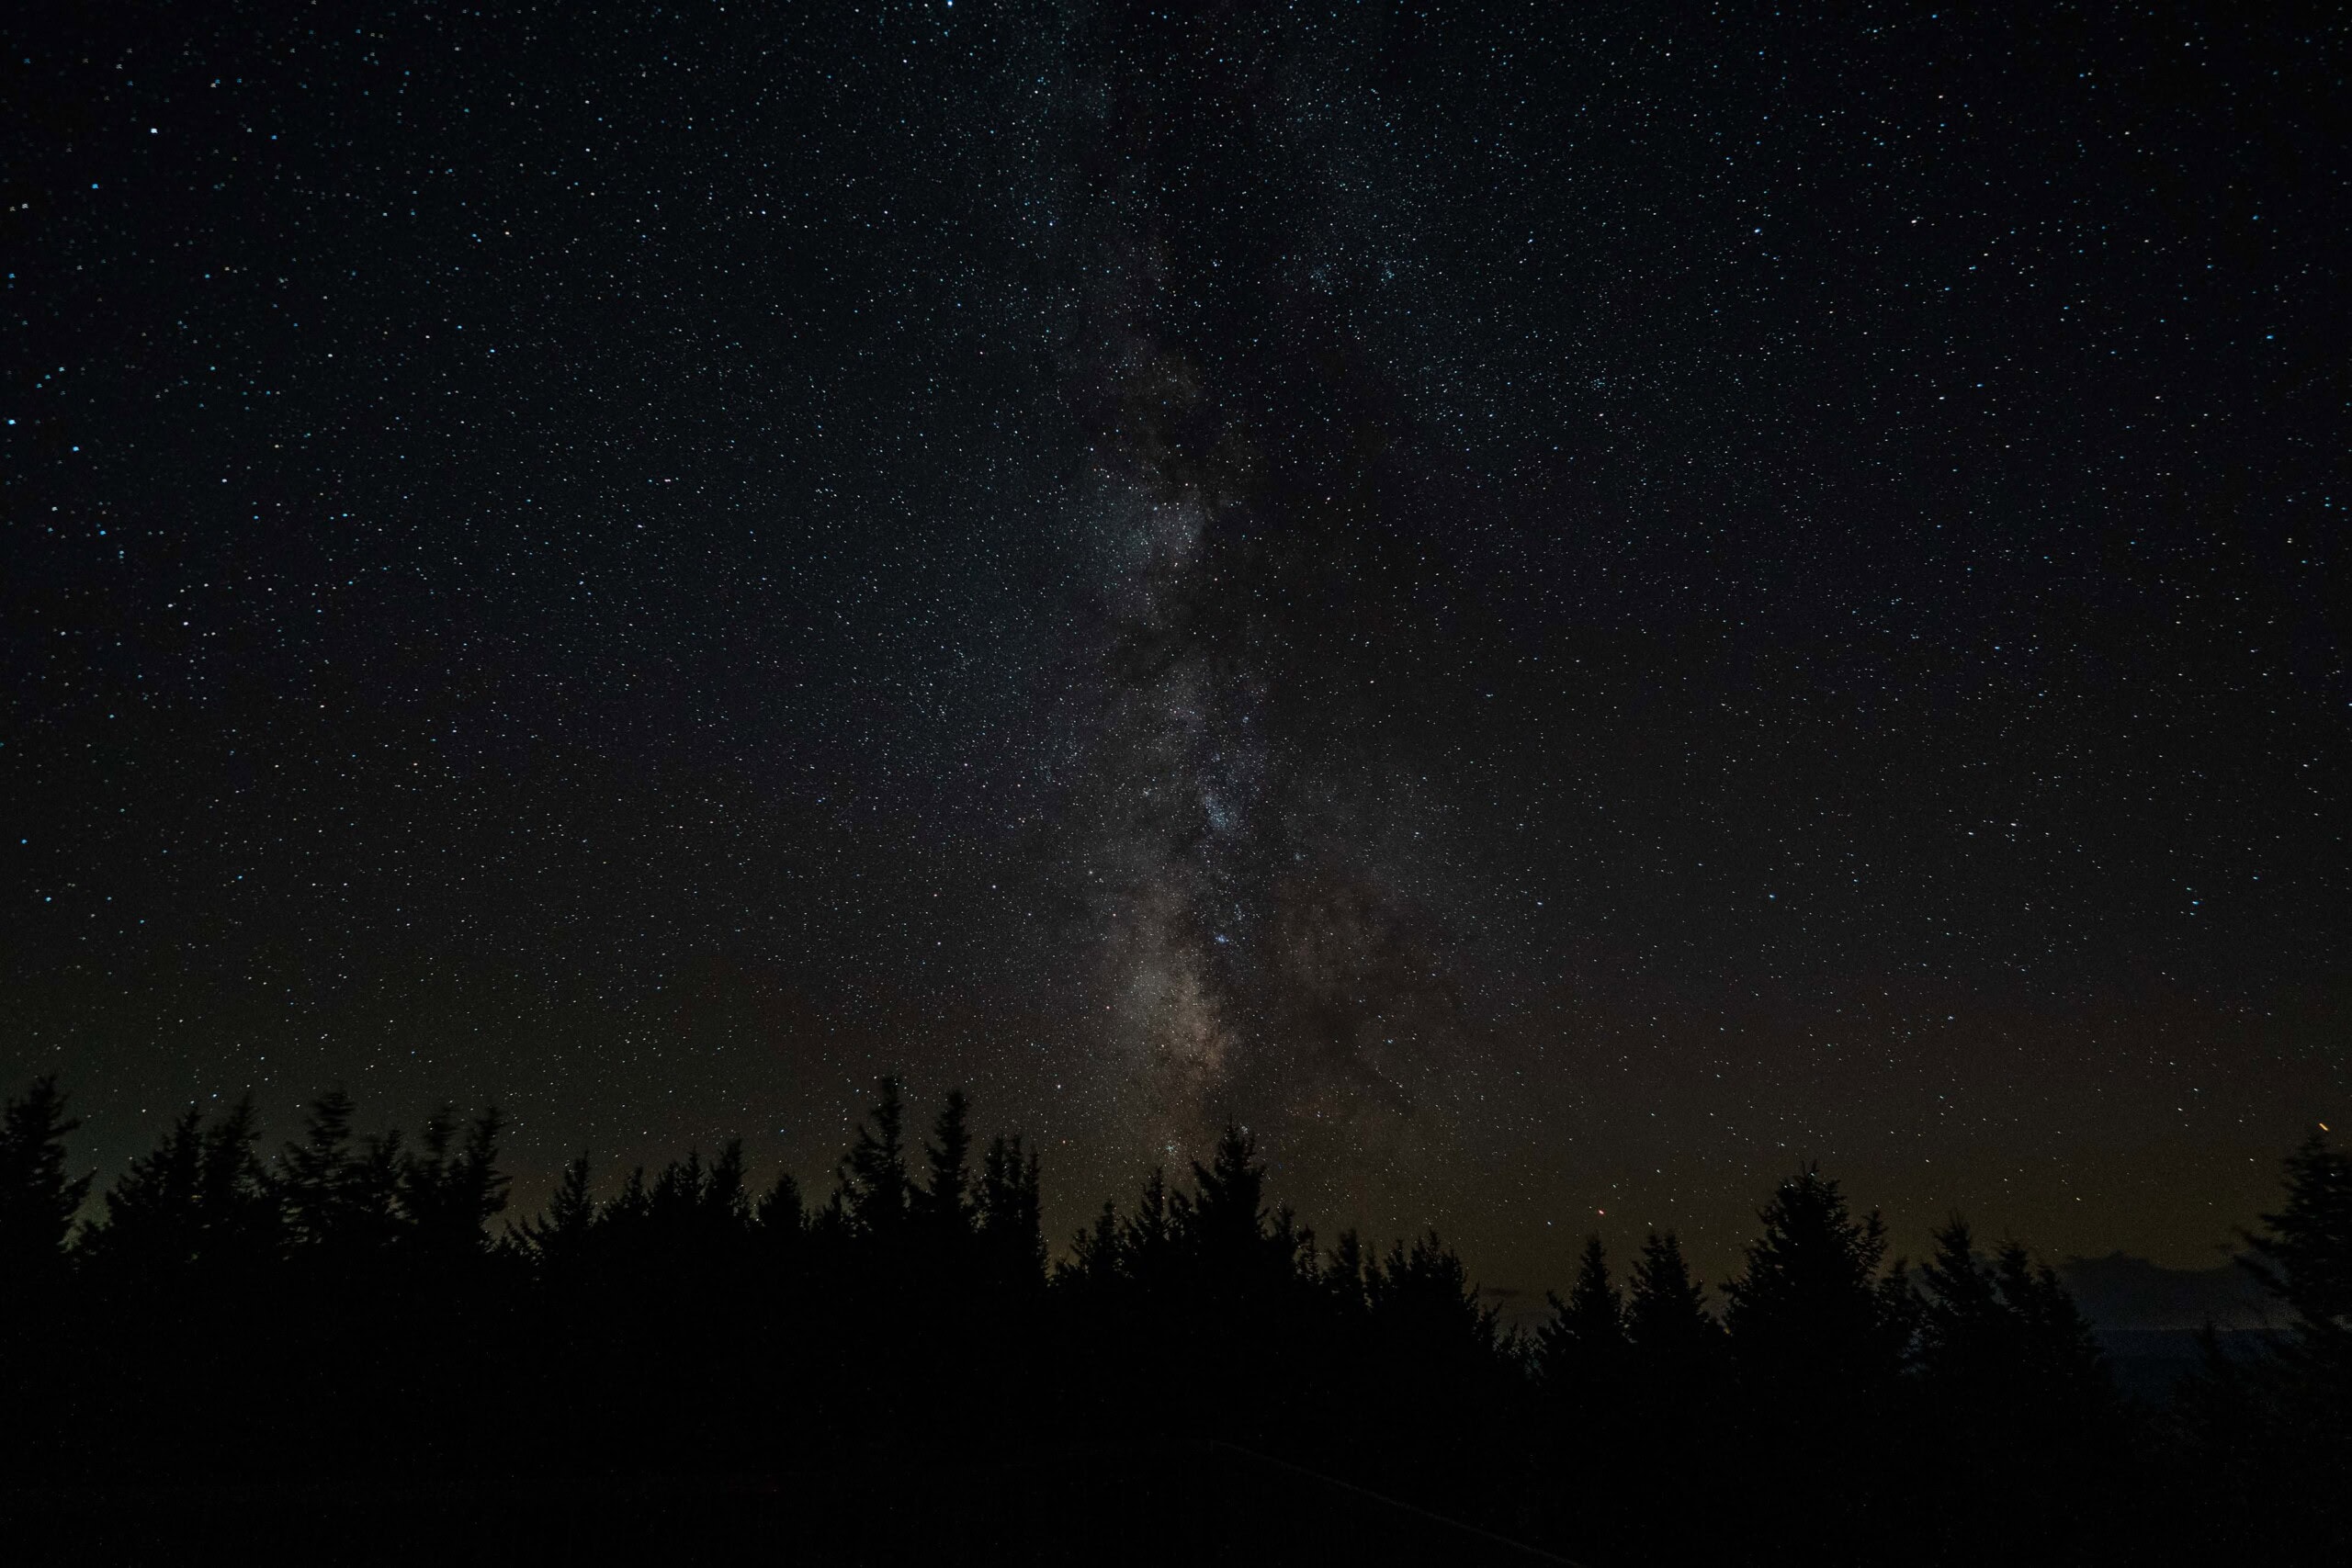
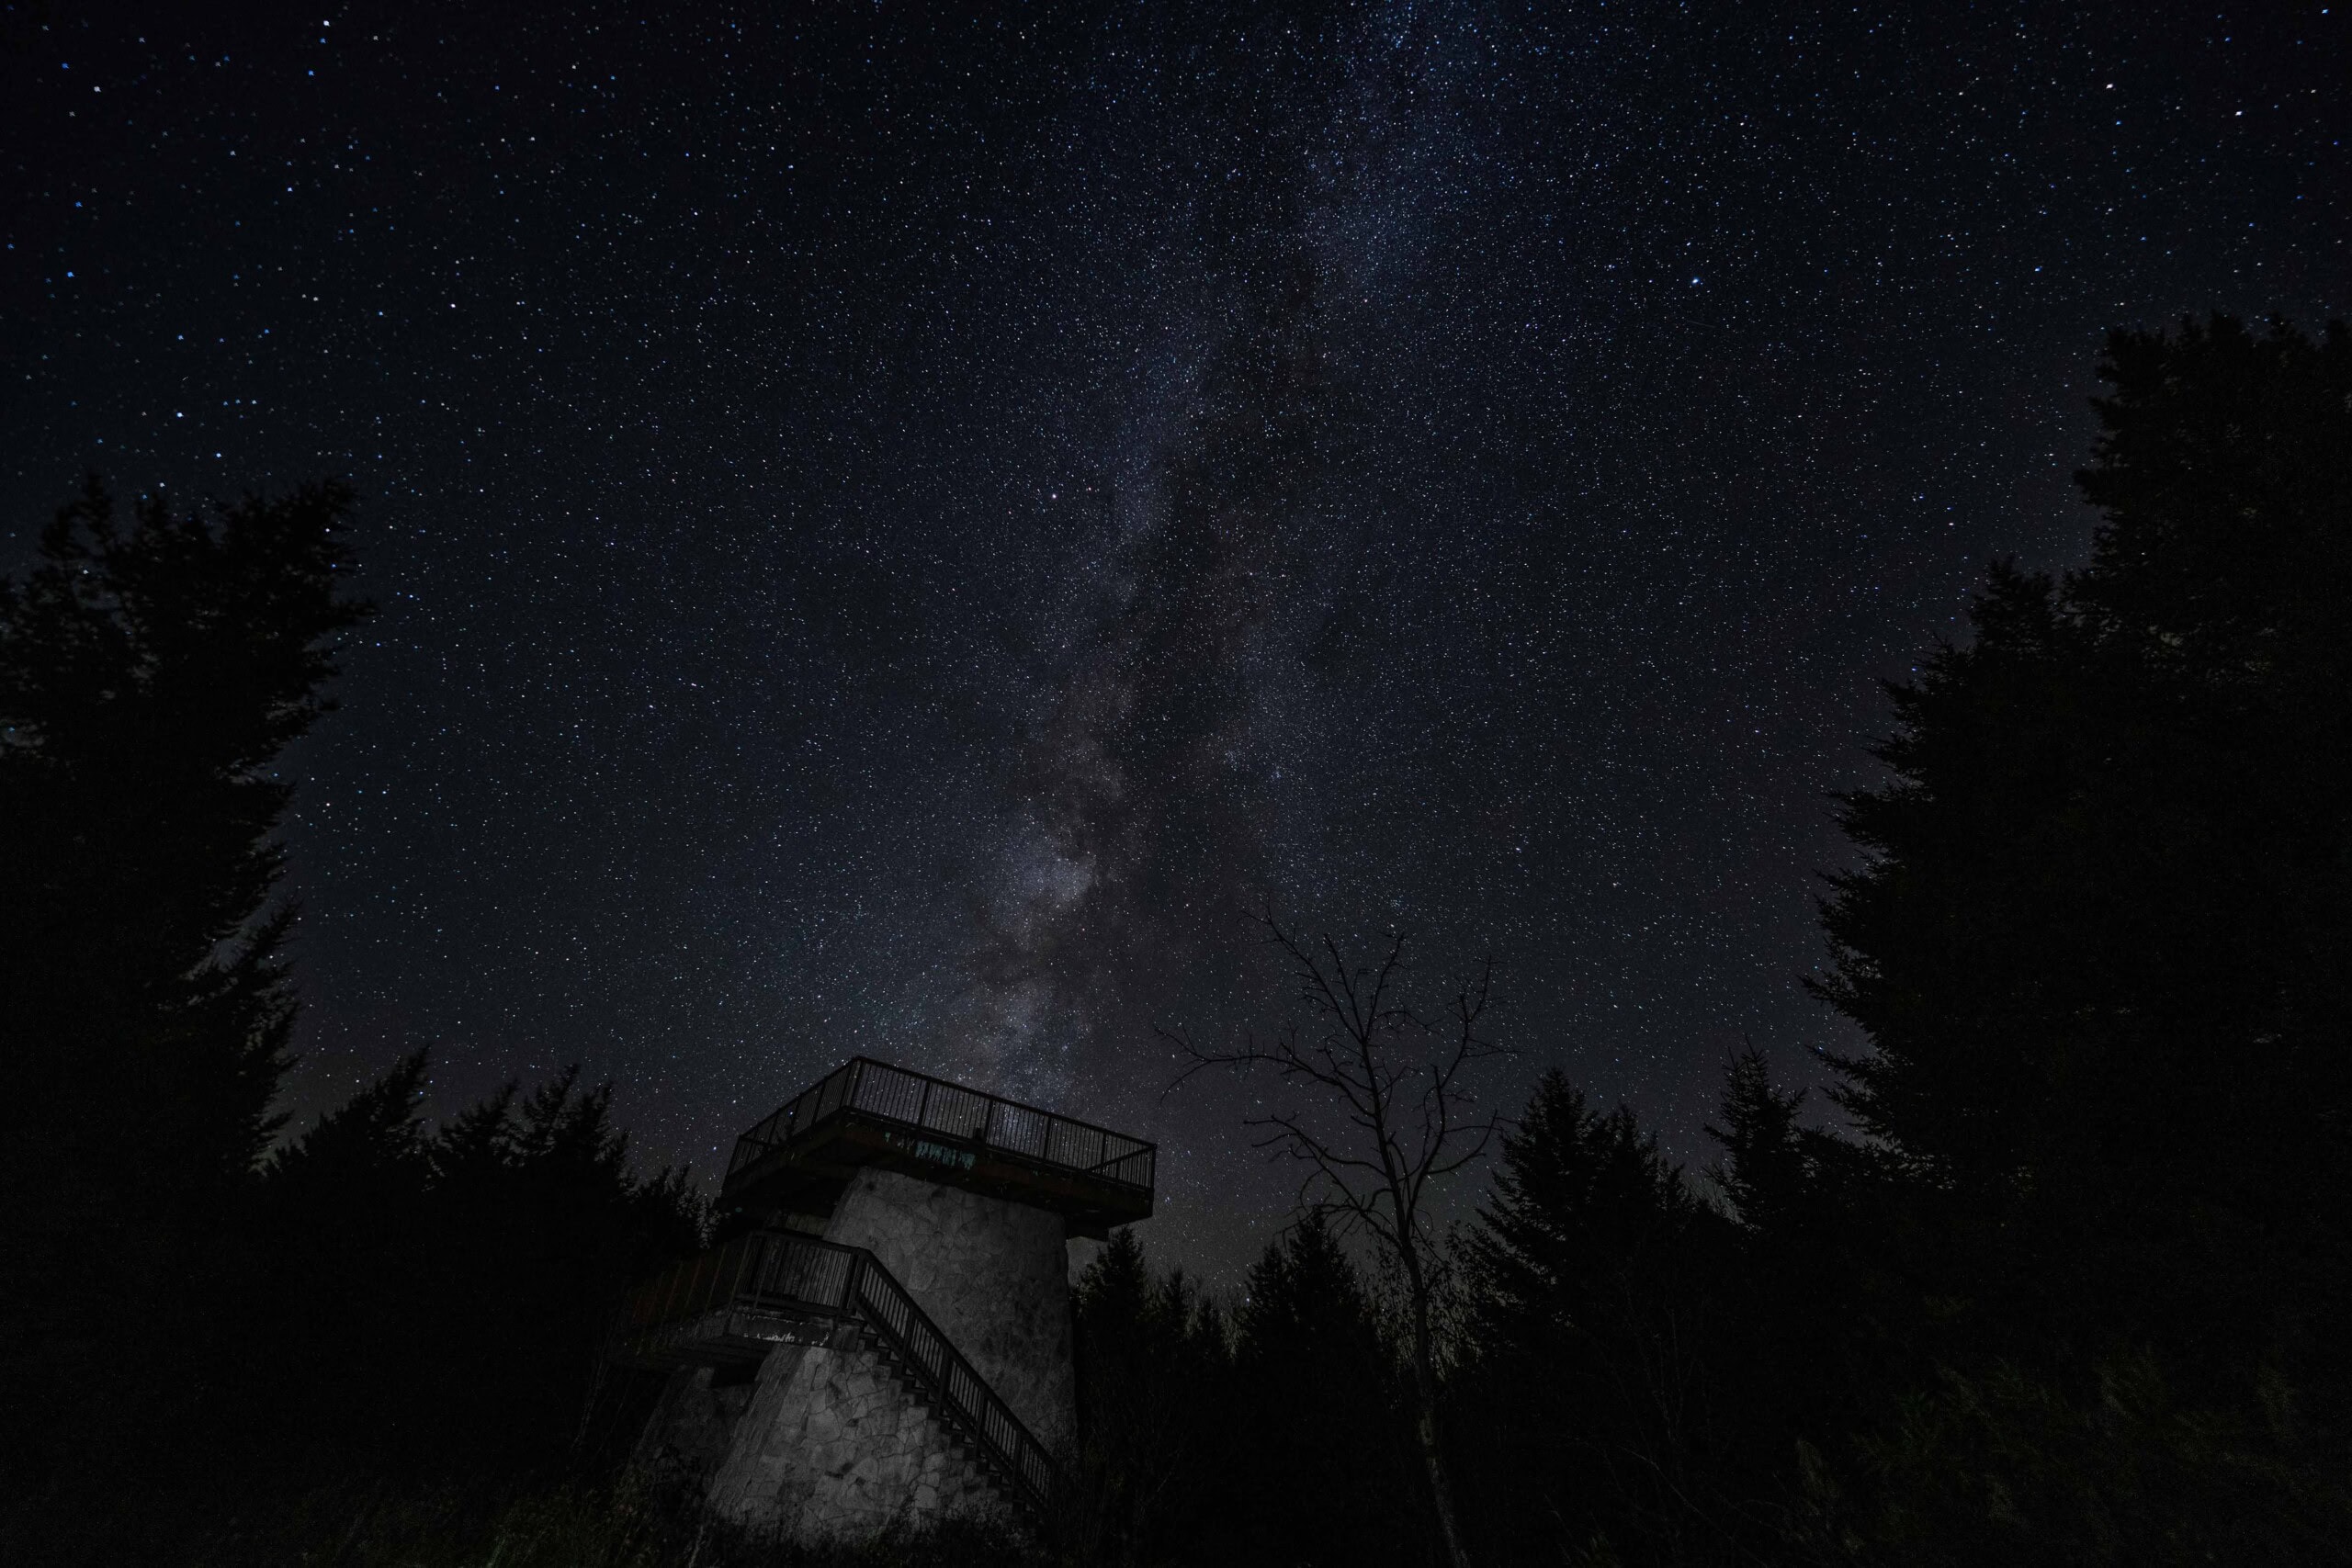
As the title implies, I am in no way, shape, or form a seasoned vet when it comes to astrophotography. I am lucky enough to have a close friend who also dabbles in hobby photography and has done a fair bit of nighttime shooting. So, when he sent me a random text message asking if I would be interested in backpacking during the next new moon for star photos, I jumped at the opportunity. This is not some epic story about plunging into the backcountry for some never-before-seen magical shots, but hopefully will provide those of you looking to try astrophotography a bit of a baseline.
Just to get it out of the way, I will include my primary gear below and the camera specs I started shooting at. At the end of this article, I will also include a recommended gear list of other items we found useful. One other side note for those interested: I experimented on our second night with a different camera body and different lens, so stay tuned for that comparison.
Gear
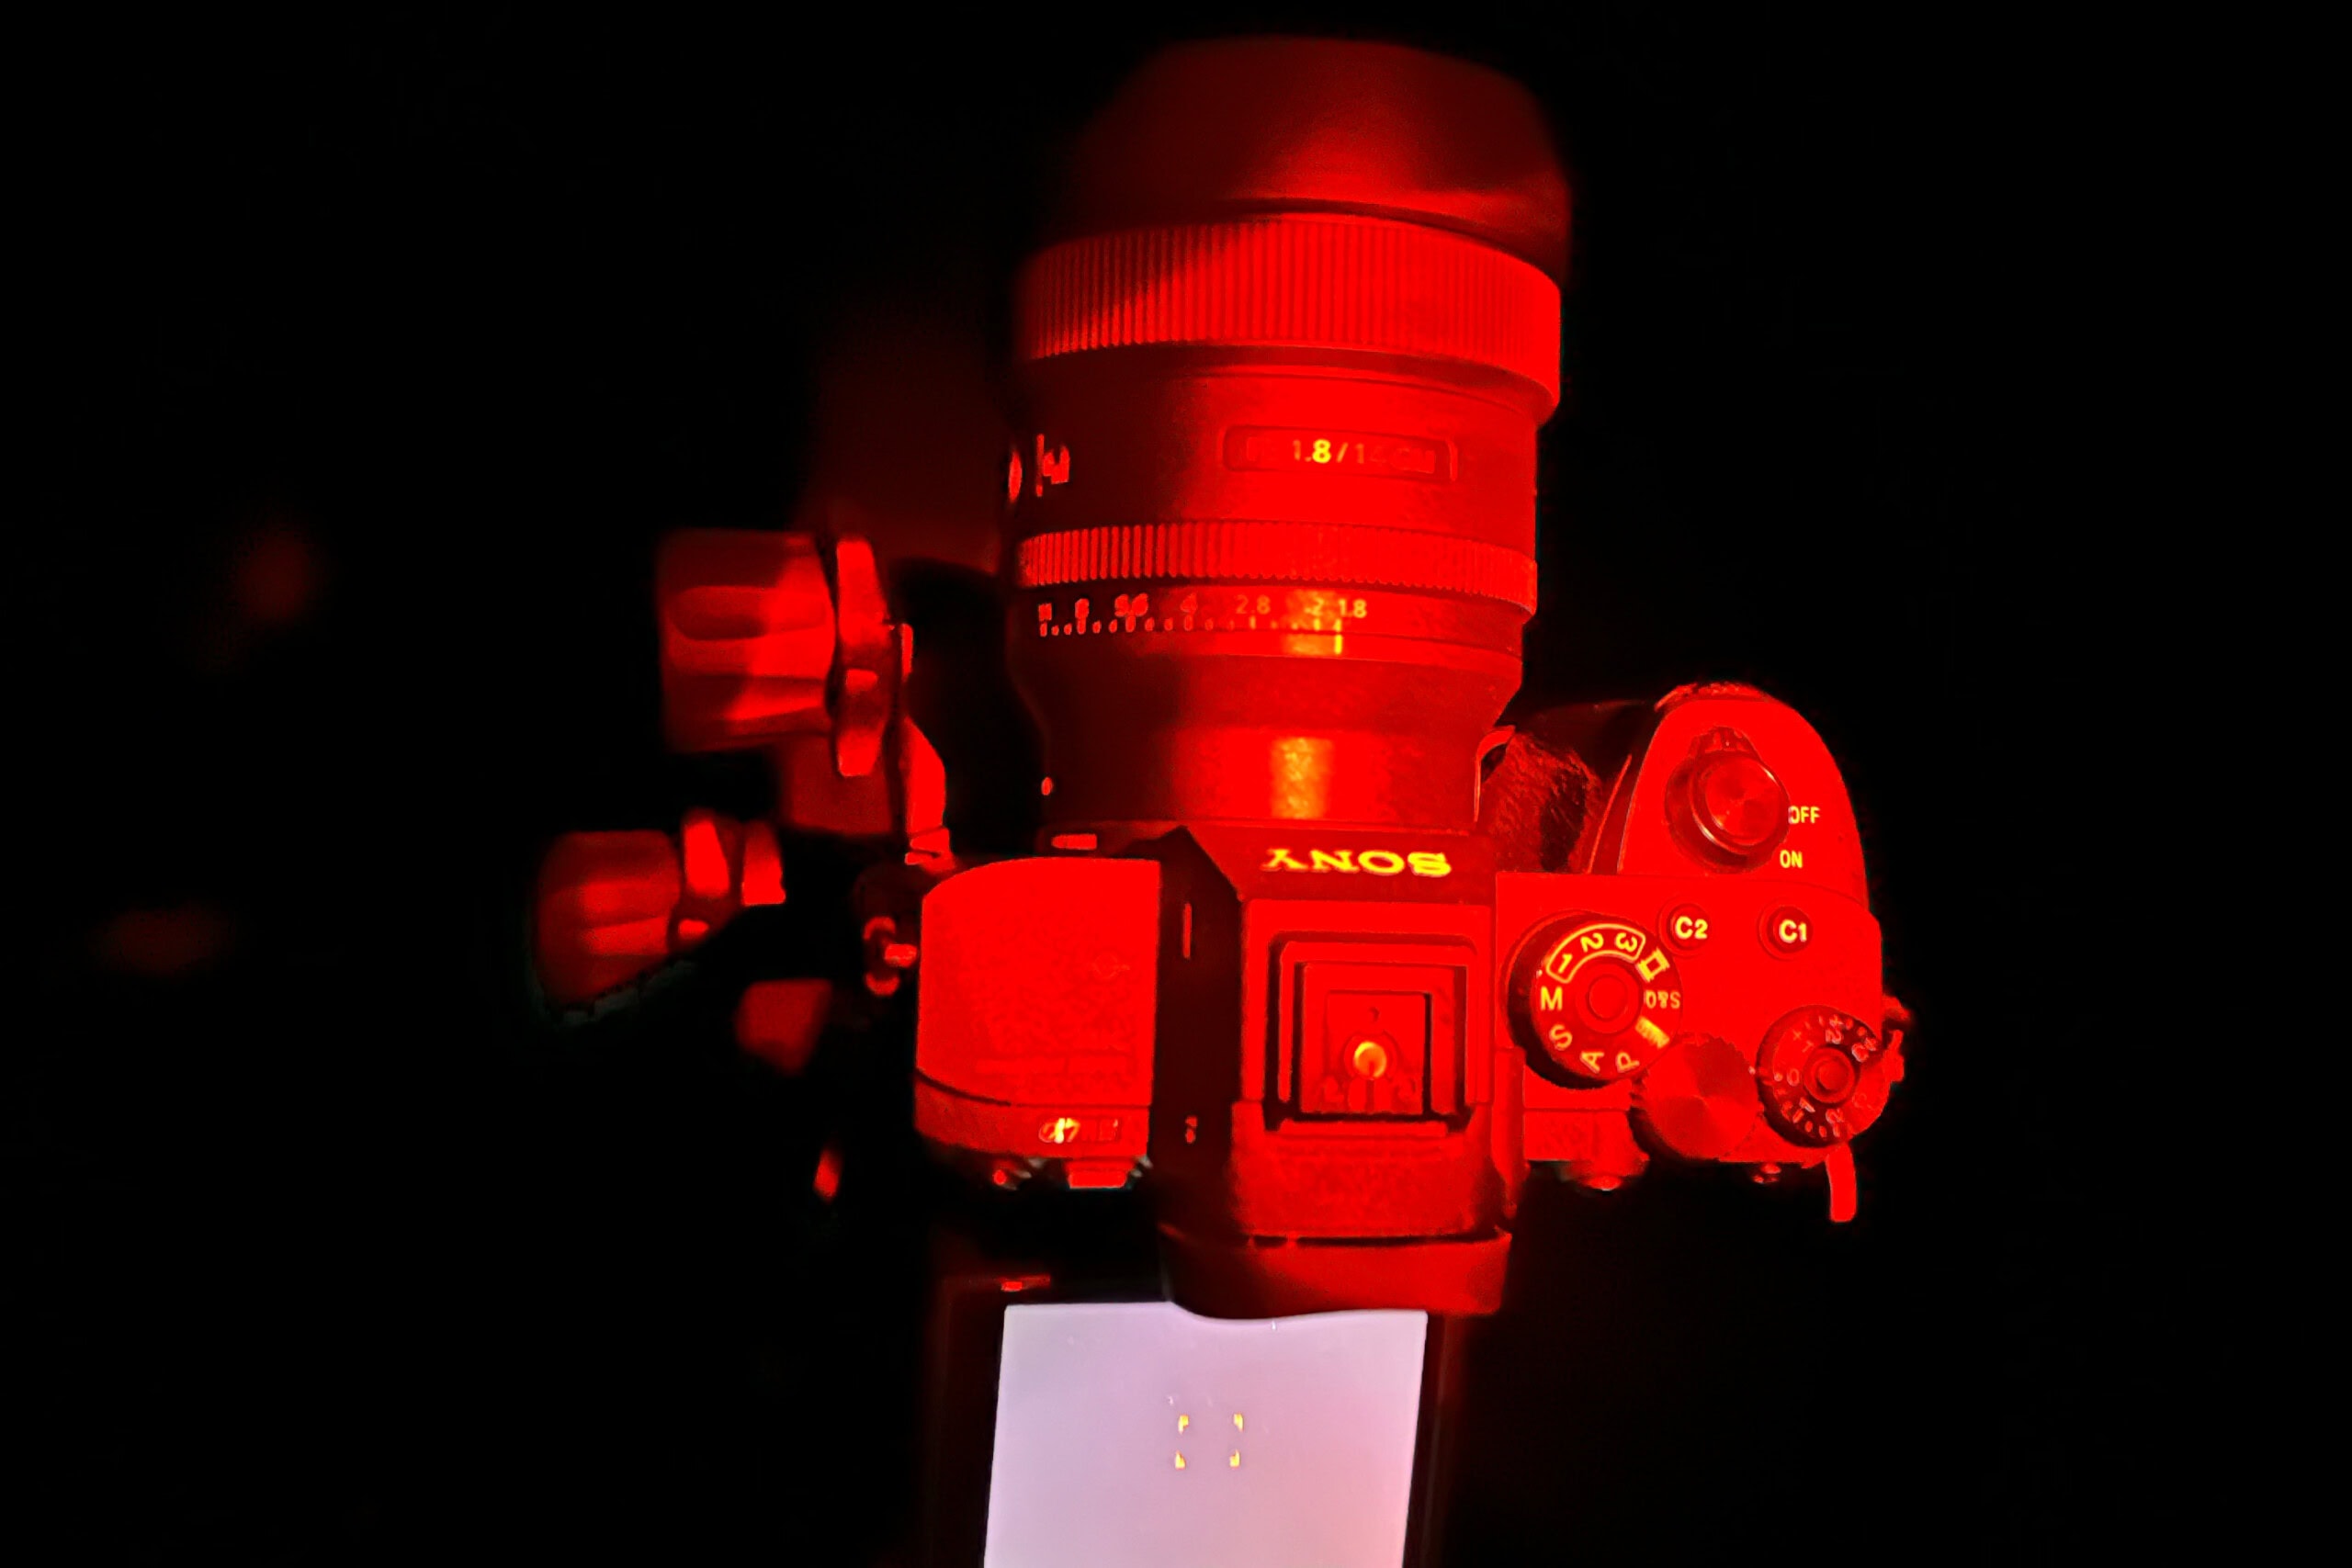
- Camera: Sony A7R IV
- Lense: Sony FE 14mm f/1.8 GM
- Tripod: Benro SystemGo Plus Aluminum Tripod
- Tripod Head: 3-Way Geared Head
Settings
- ISO: 3200
- Shutter: 13”
- F-Stop: 1.8
- Self Timer Single Shot 2 Sec (to avoid shutter shake)
With all of that listed out, go ahead and set up your camera with the widest lens you own, set your aperture to the lowest number possible, and go out and start shooting the night sky.
A new moon was the key to the whole trip. The first lunar phase, a new moon occurs when the moon and sun have the same ecliptic longitude, or more simply put the moon is not visible in the night sky. This allows the sky to show off the stars without being drowned out by light reflected off the moon. We are also fortunate enough to live within driving distance of two areas on the Eastern side of the United States with minimal light pollution. There are a few websites that can help with this, but I recommend using darksitefinder.com to locate these dark site gems. Jonesing for a bit of a backpacking adventure, we selected Spruce Knob in West Virginia as our location, packed our bags, and set off.
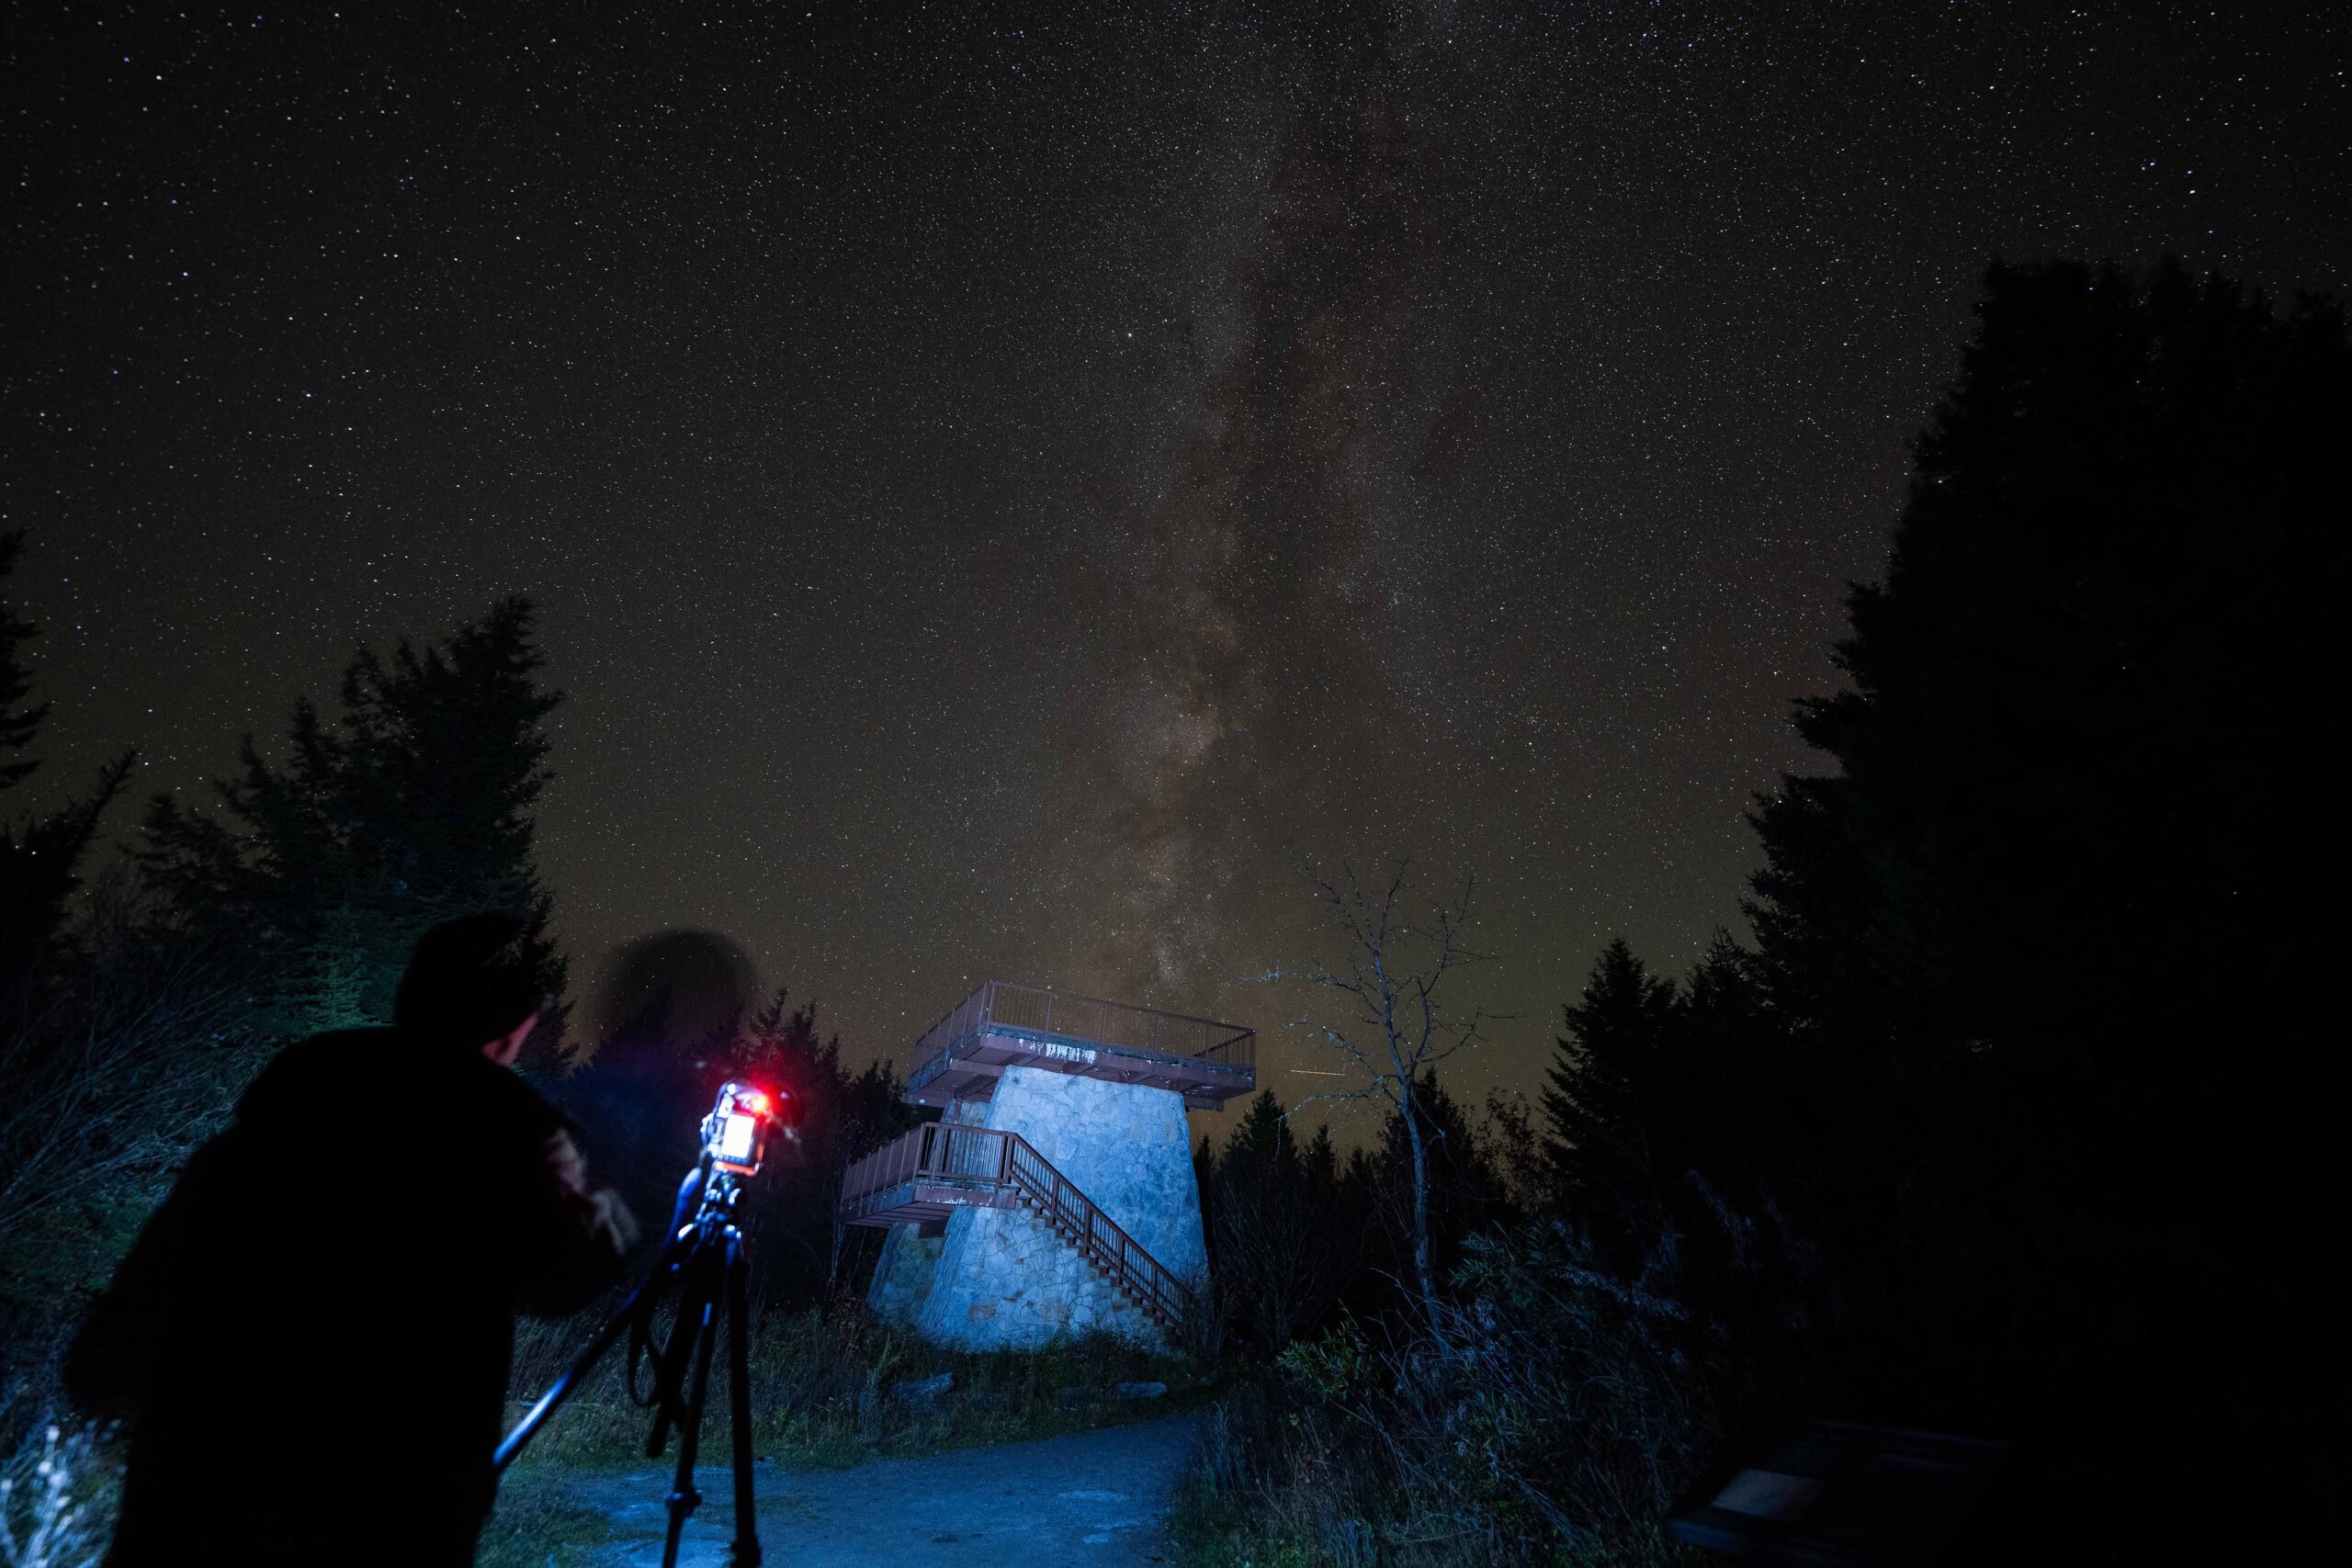
Another thing to consider on your photography adventure is the foreground. Do you prefer an uninterrupted night sky shot or are you looking to have some trees, rocks, or people in the foreground to give the shot a bit of depth? Spruce Knob offers unique options for the foreground with a small open field holding large boulders, an abundance of thick pine trees, and an observation tower all up for grabs. As it was our first time shooting in this location, we arrived a bit early with our day packs and camera to begin scouting the area to establish a wishlist for compositions. Another helpful tool is the app PhotoPills. Useful for any photographer, it is especially handy in this situation being able to show you a map of the Milky Way with the Sun and Moon’s positions and paths displayed. When we found ourselves at a decent clearing or framing opportunity, Matt would pull out the app to see if it would be viable, and if so at roughly what time it would be an ideal location.
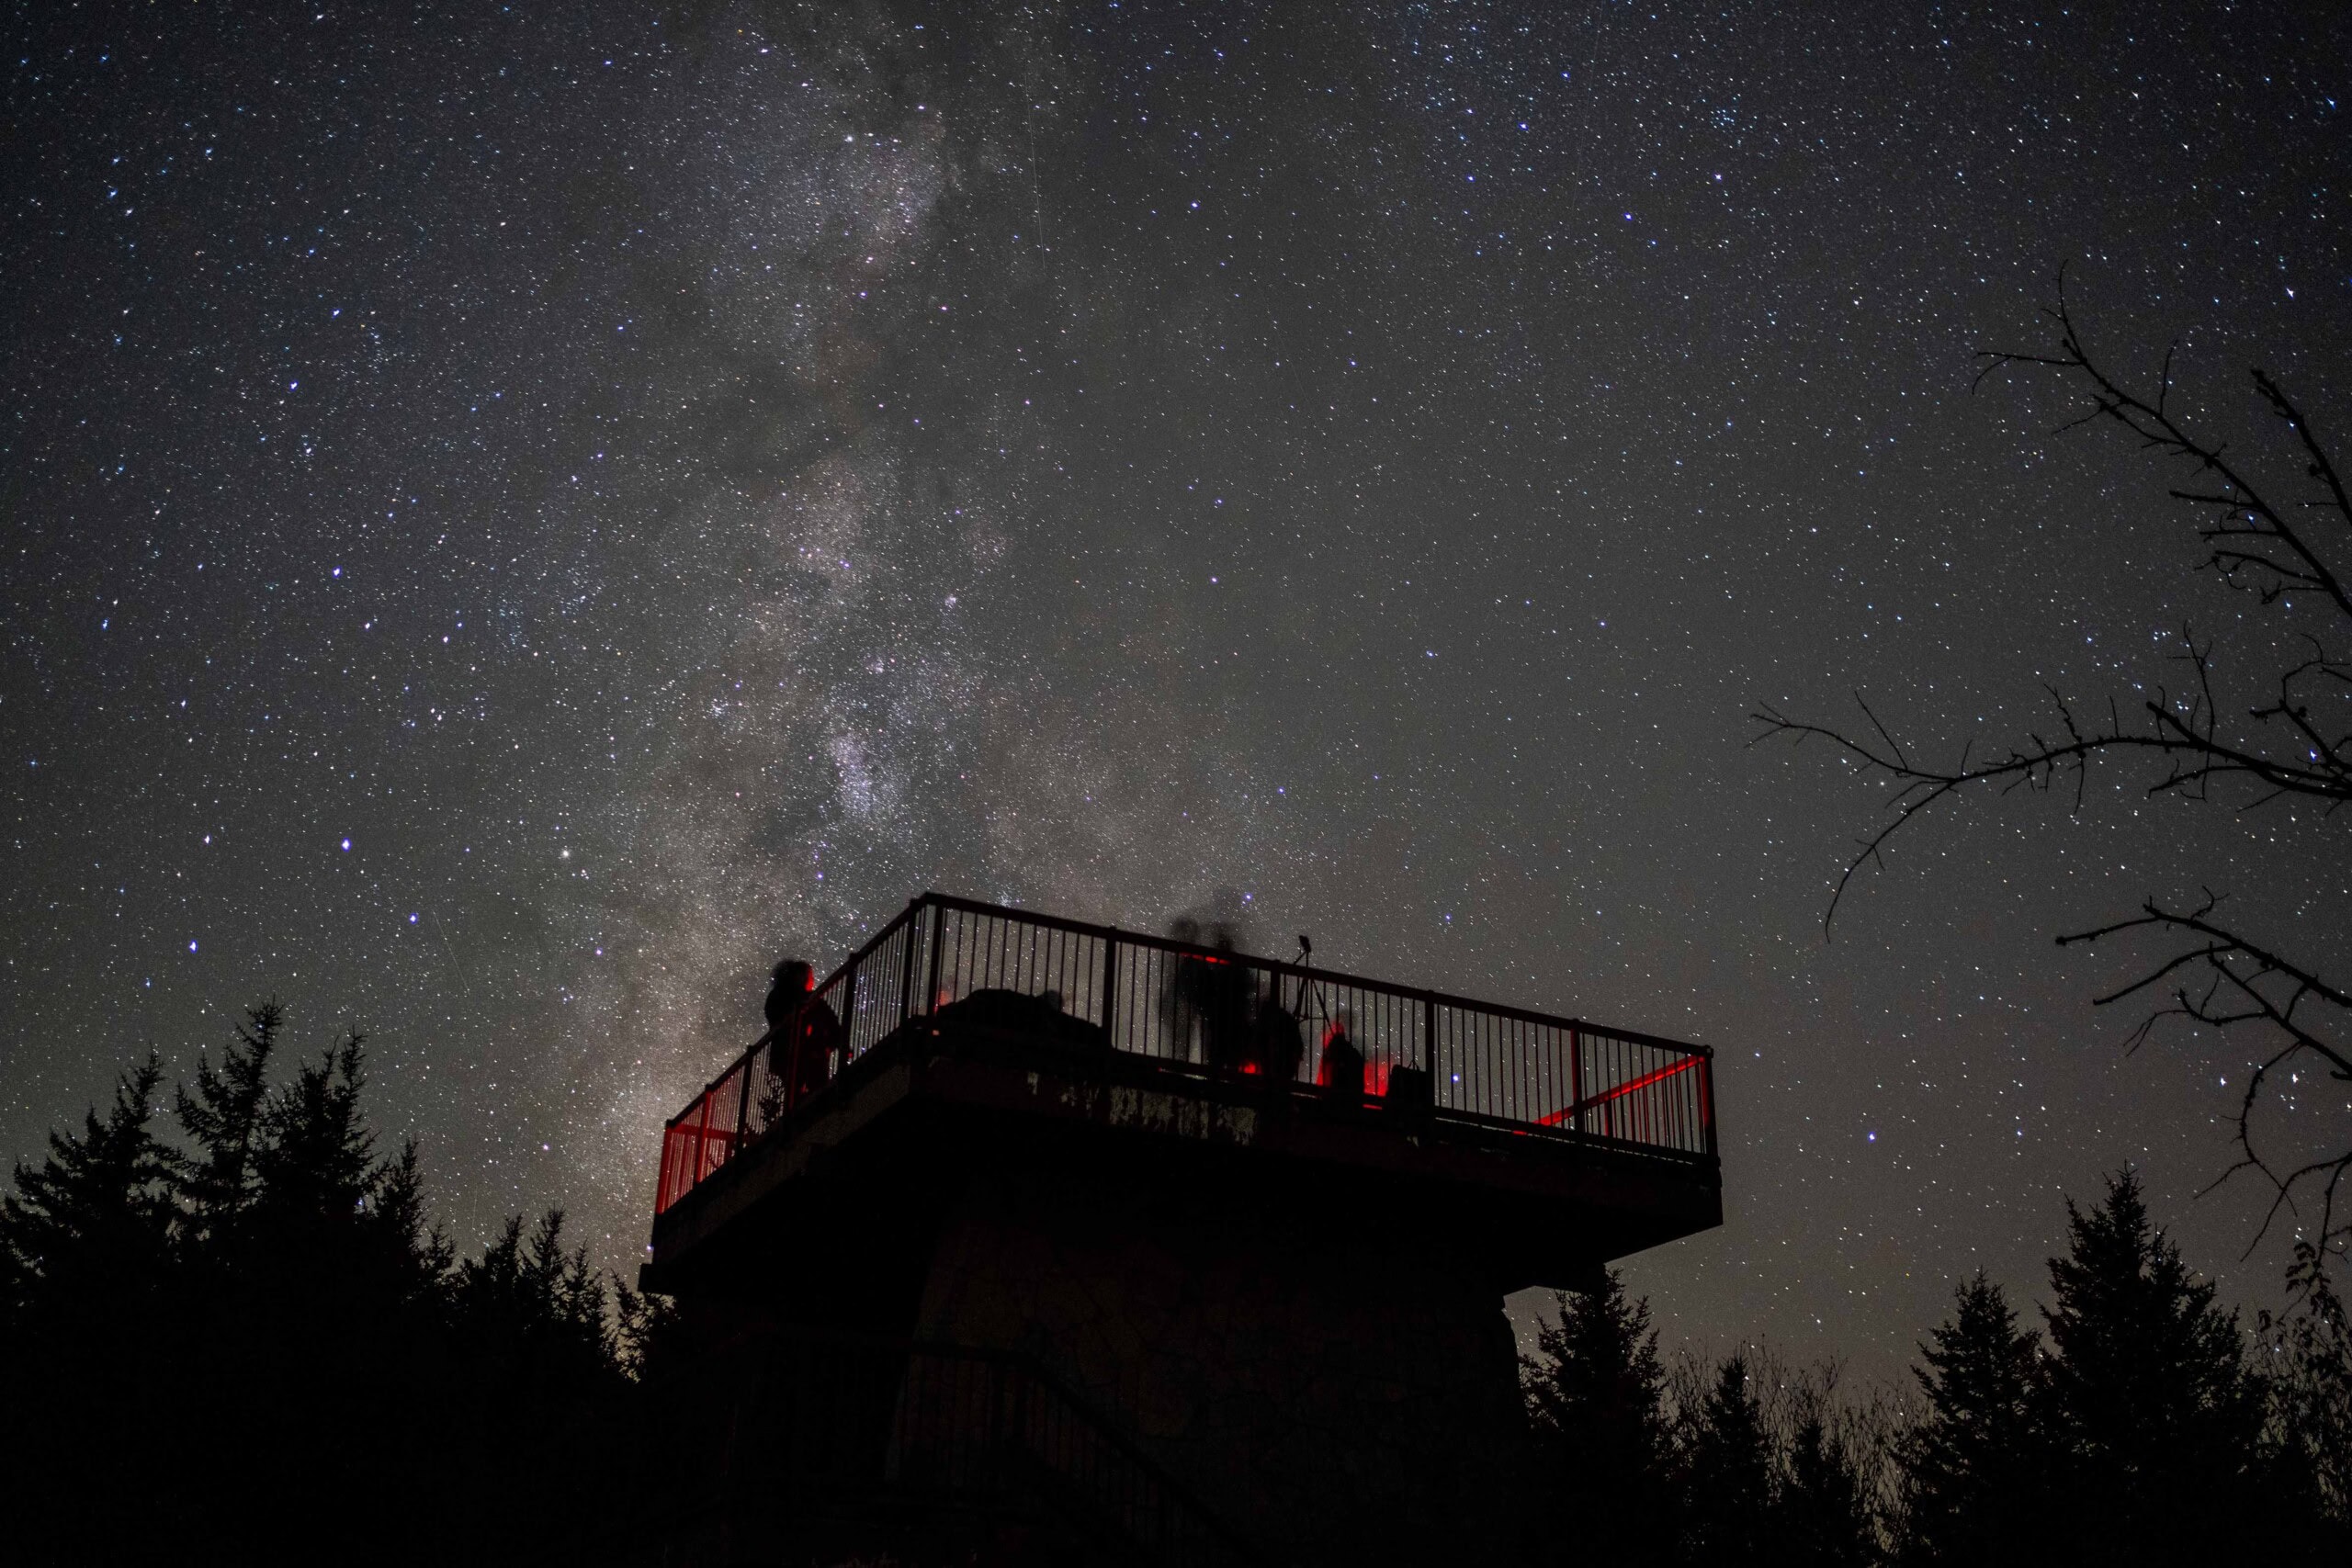
Selecting a handful of spots for our first night, we returned to the cars to grab our main camera gear and other comfort items. Unsurprisingly, we were not alone on the mountain. Hiking to our listed location, we ran into a few other photographers setting up in pursuit of their nighttime shots. As to not intrude, we continued on from spot to spot until we settled on the top of the observation town claiming the opposite corner from another photographer. Headlights set to red light, we began our own setup screwing in lenses and tripods before positioning them for an ideal shot that was also comfortable for us to sit and wait. Bring a sit pad! The ground is cold, it will get wet, comfort is king, and if you are going to be there for a while a pad is invaluable. I would also recommend a rainfly for your bag as the night has a tendency to bring along a decent amount of humidity that would have otherwise soaked out bags. Settled in and set up, we watched as the night sky put on an amazing display. To our delight, the Milky Way made a stunning appearance adding depth and color to the dark void scattered with twinkling light.
Annoyingly, the settings that Matt recommended (the ones listed above) ended up being pretty close to perfect for our situation. The more I experimented the less I liked the results. Changing ISO, shutter speed, focus, and aperture, all led to less desirable captures. While it was great for efficiency, as someone who likes to tinker I found myself a bit bored. So, with a few good shots out of the way, I began experimenting with composition. Placing trees in the foreground, painting the observation deck with a quick burst of light during the long exposure, and a little bit of still posing all drastically changed the end photo and added a lot of fun to the experience. Eventually, we moved to other locations, stopping to snag a few pictures before ultimately calling it a night, cold, wet, and very tired.
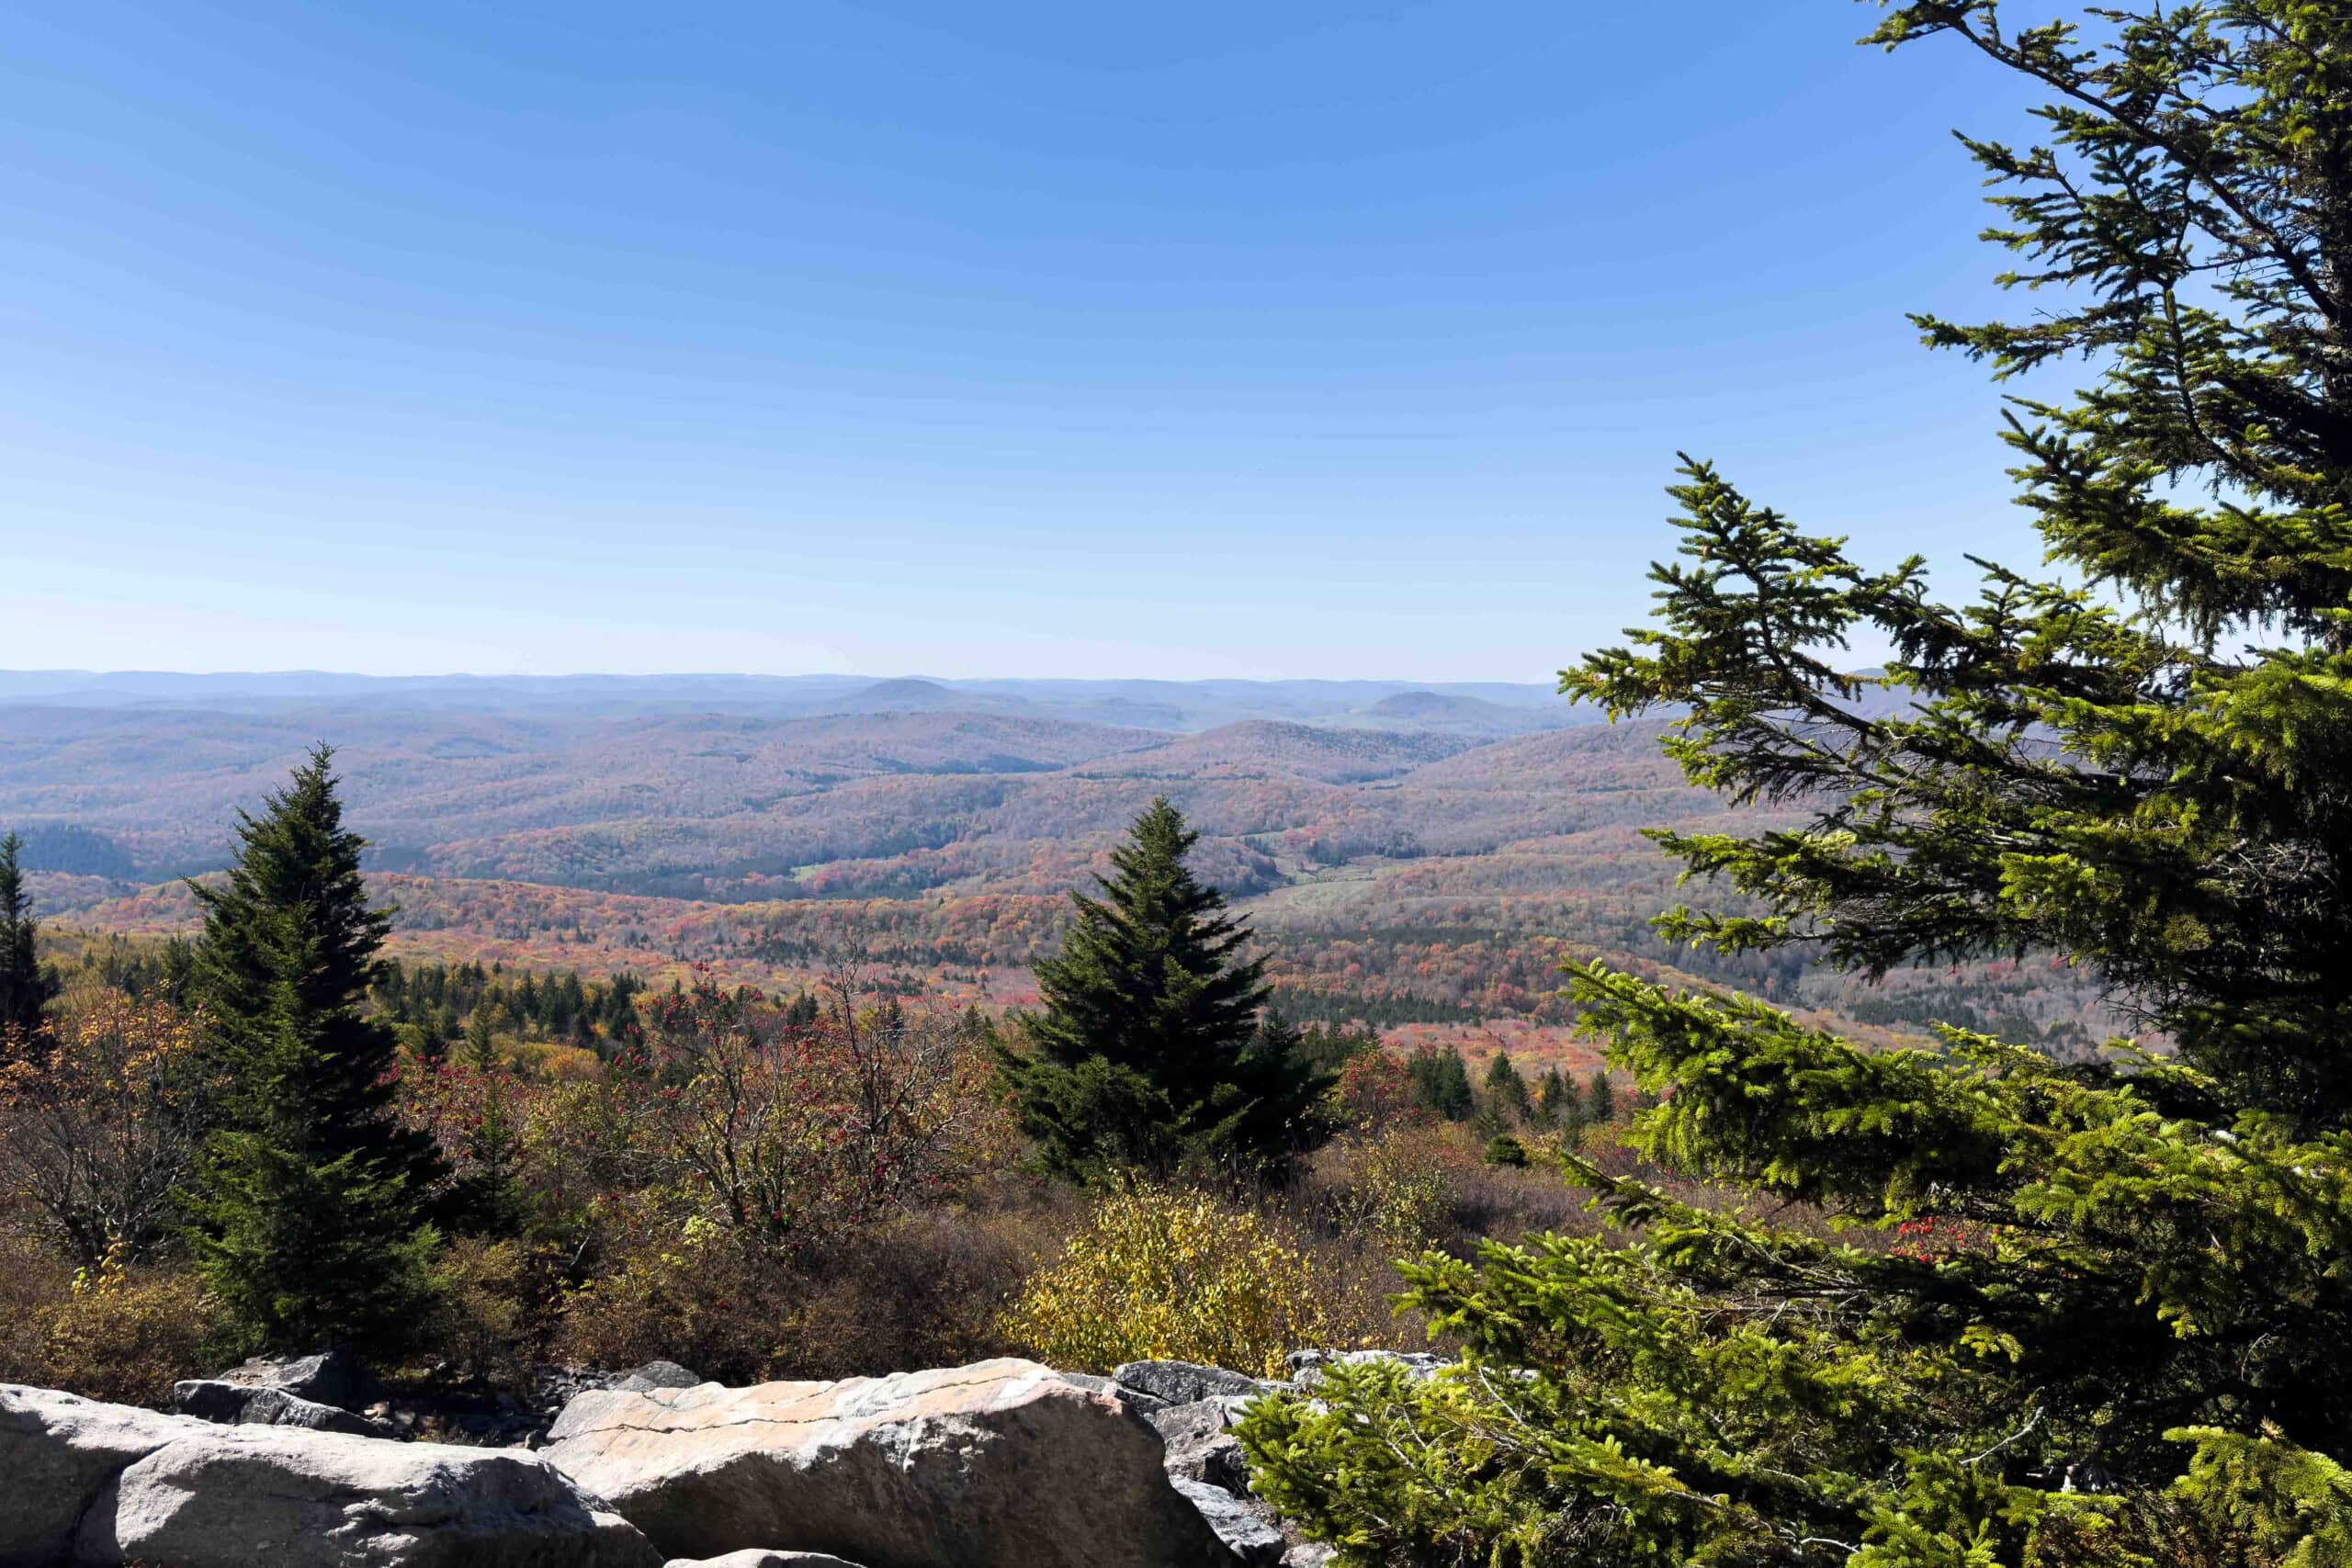
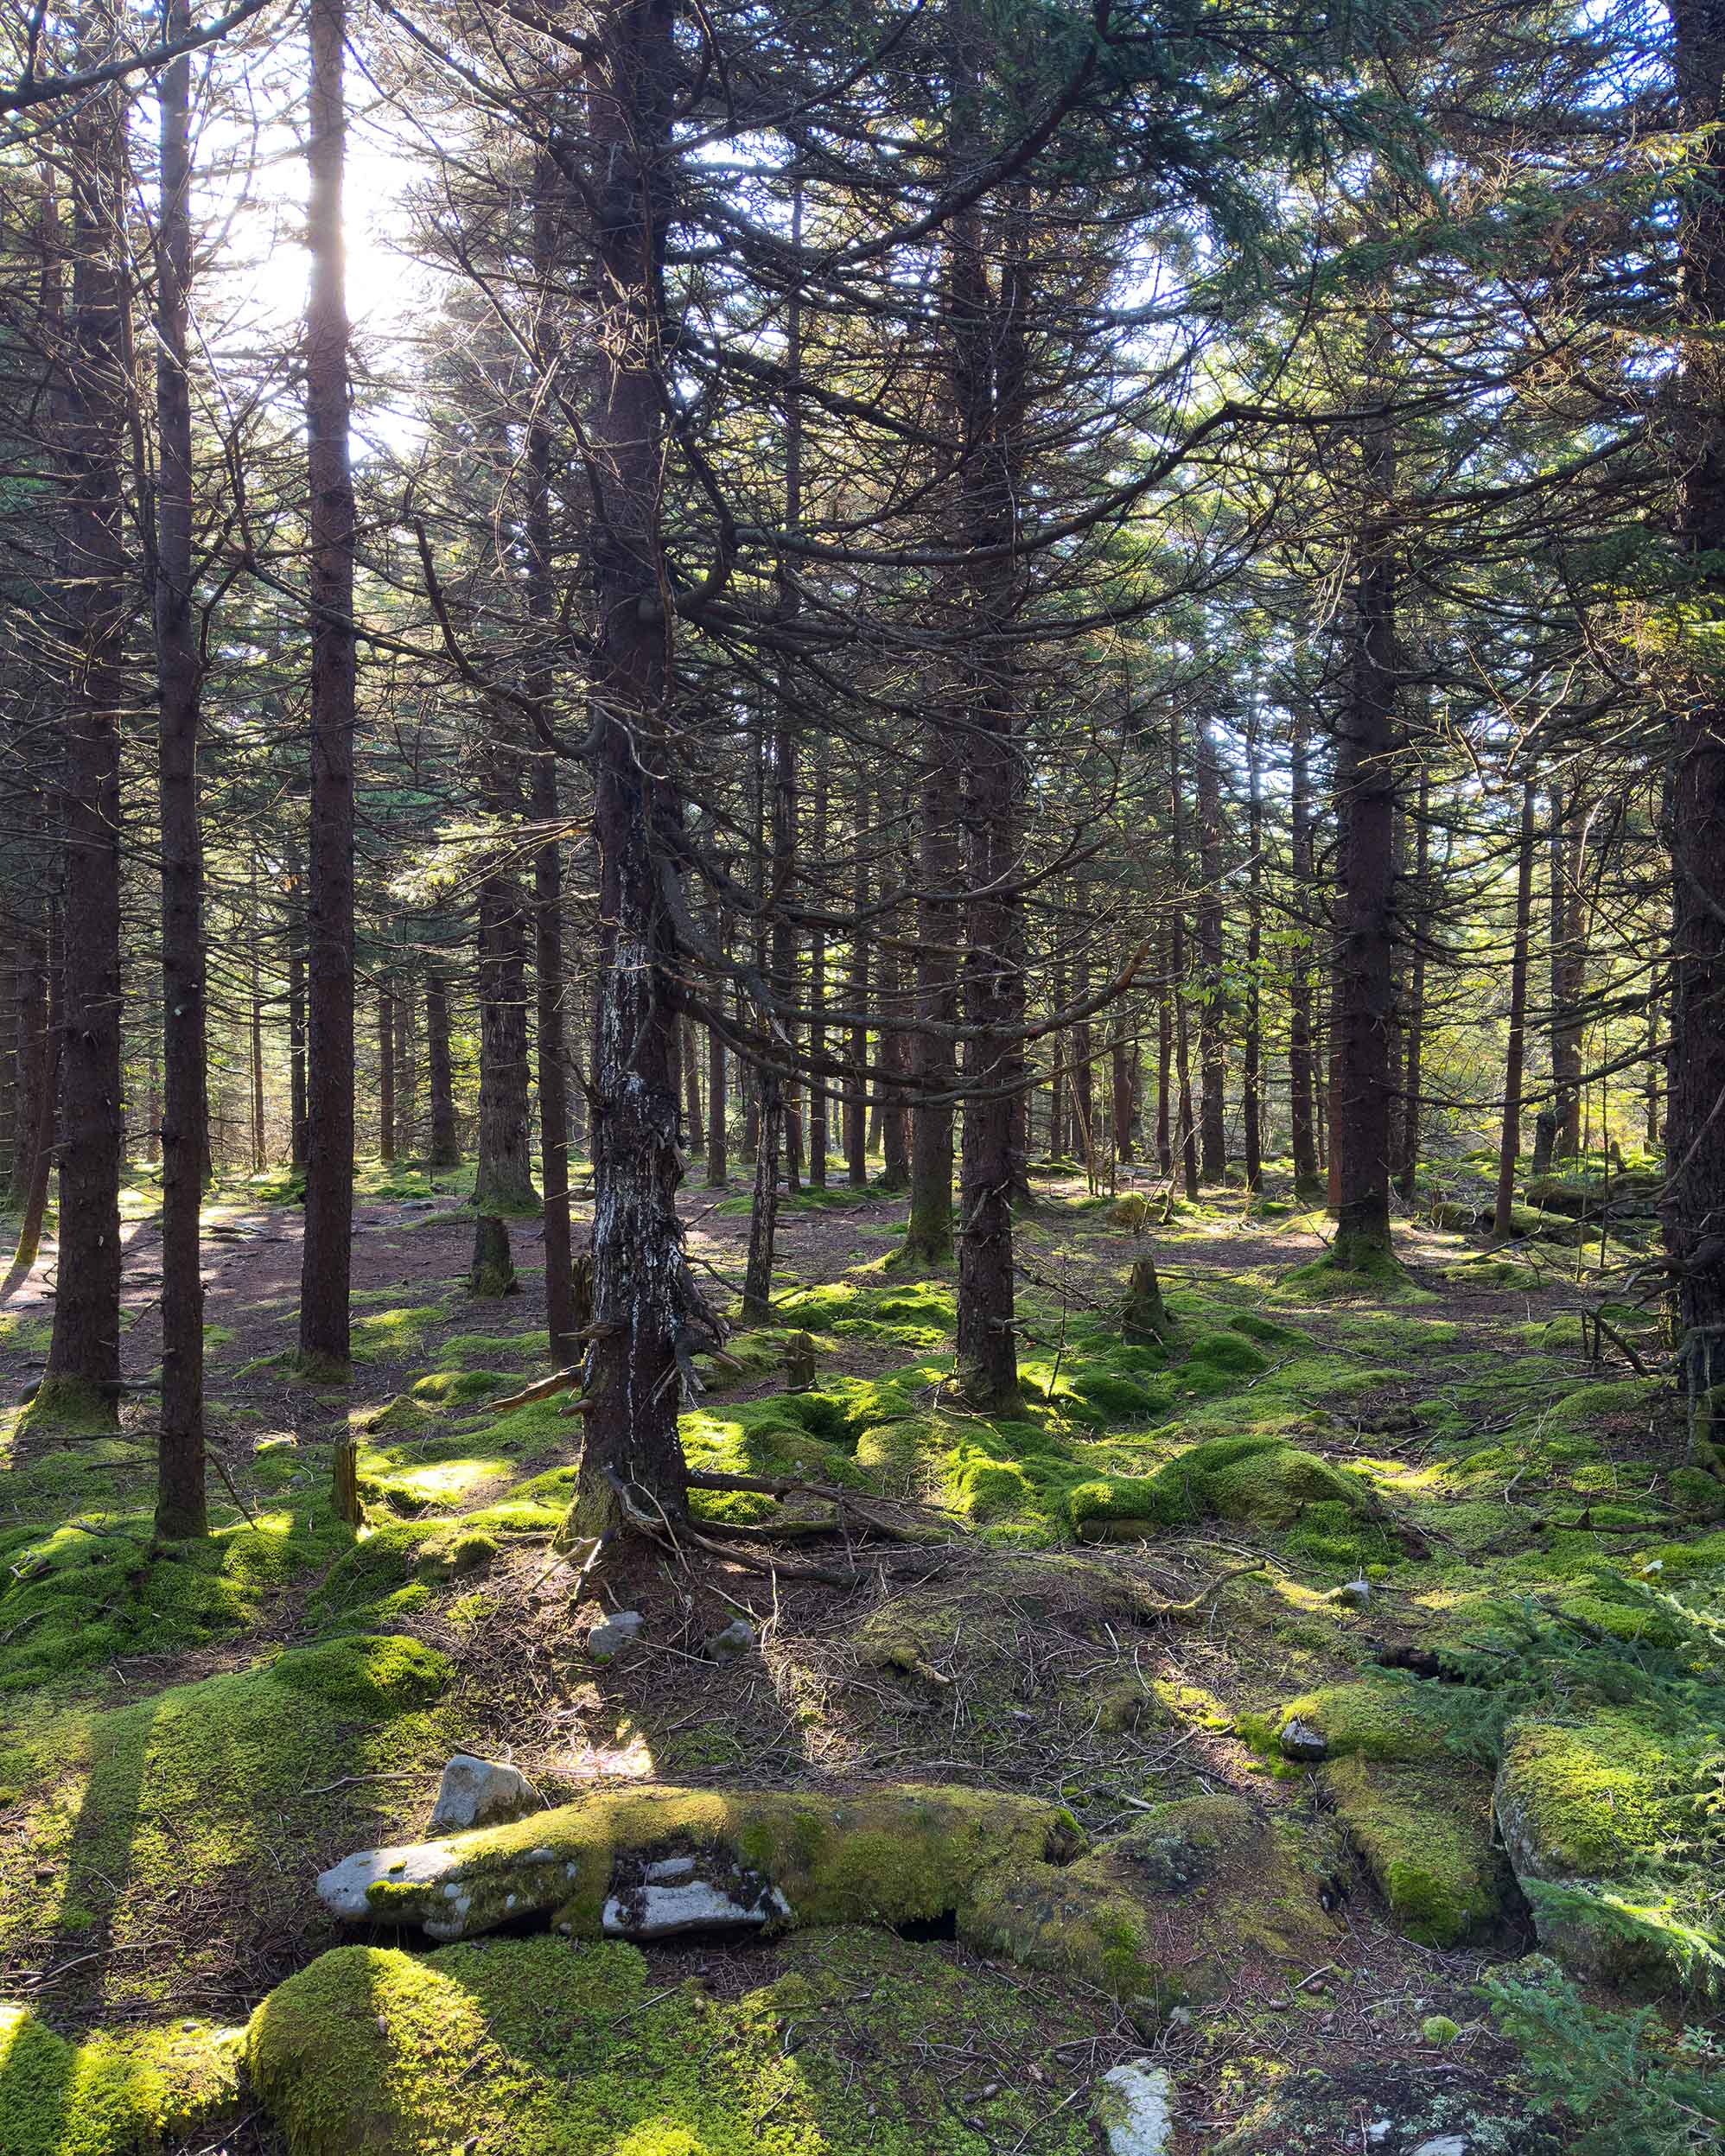
Always pack for colder than-predicted conditions. We thought we knew the nighttime temps coming into the weekend but did not consider moisture, heavy winds, and altitude. This led to a fairly restless and uncomfortable night of sleep curled into balls packed in a mummy sleeping bag. Intending to protect them from the elements, we had left our camera gear back at the car meaning that as we tossed and turned we could only wish that we were pouring over our shots on the compressed screens of our camera bodies. The next day’s sun revealed the beautiful surroundings covered in moss and lush with vibrant green colors. After making some pour-over coffee and a double shot of espresso, we grabbed our day bags again and set out to further explore the area.
We spent the day lounging in the boulder field soaking in the sun like a pair of reptiles trying to melt away the previous night’s chill. Our location scout produced a nearly identical list to the night before though this time with the assumption that we would have quite a few more people to contend with. Joining us on the mountain top were two vintage Porsche car clubs, a family tailgating out of the back of their pickup complete with a flat iron grill, a slew of people looking to take in the changing leaves, and no shortage of photographers scouting for their ideal shot. As night settled in, we grabbed our gear and began working our way through our list once again. Hindered by the new crowds, flashlights, and headlamps, we ultimately ended up with very few usable shots, though it did provide us with a few opportunities to experiment with our setups.
It was on night two that I pulled out and tested other camera equipment to see if it made that big of a difference. Tucked in my camera cube was a Sony A7C, a fantastic compact mirrorless camera built for travel while still packing in 24.2 megapixels. At almost ⅓ the megapixels of my other body, would it take a significantly worse photo? For another point of comparison, I also brought along a Sony 35mm 1.8 FE lens retailing for ⅓ the price of the rented 14mm lens I had been using. From my shooting, I can honestly say that swapping the lenses from one body to another, shooting the higher-end rig, and shooting the lower-end rig, all produced results that I was proud of. All four configurations were able to gather enough light and create a composition that I thought made for a good photo. I’ll throw two shots below for you to judge for yourself.
At the end of the day, whatever gear you have and wherever you are, just get out there and shoot. Try new settings, new locations, new compositions, and play with lighting. This experience was a lot of fun and I learned considerably from it. We are already planning our next trip out to try and “beat” our shots to grow as photographers. Yes, most of my shared shots came from a camera rig that costs as much as a used car, which is absurd. However, your skills are most likely more refined than mine and are worth way more than the price of a lens.
Additional Recommended Gear
- Headlamp with a red light setting
- Sit Pad (closed cell foam is best)
- Rain Jacket
- Rain Fly/Bag Cover
- Warm Hat
- Gloves
- Additional Microfiber Wipes
- Manual Dust Blower
- Camera Hood (protection from the elements)
